Using Ruby®
Laser Software
v0.2 by Ger Walsh with material from Trotec Ltd - updated Nov 2023
Ruby® is the software for controlling the laser cutter. It is developed by Trotec and is the easiest way to get started using our Speedy400 Laser Cutter.
What is Ruby?
A modern controller, interface and platform to connect to Trotec® laser cutters. It features a sharp UI and a much-improved workflow process.
Sending Designs to the Laser Cutter
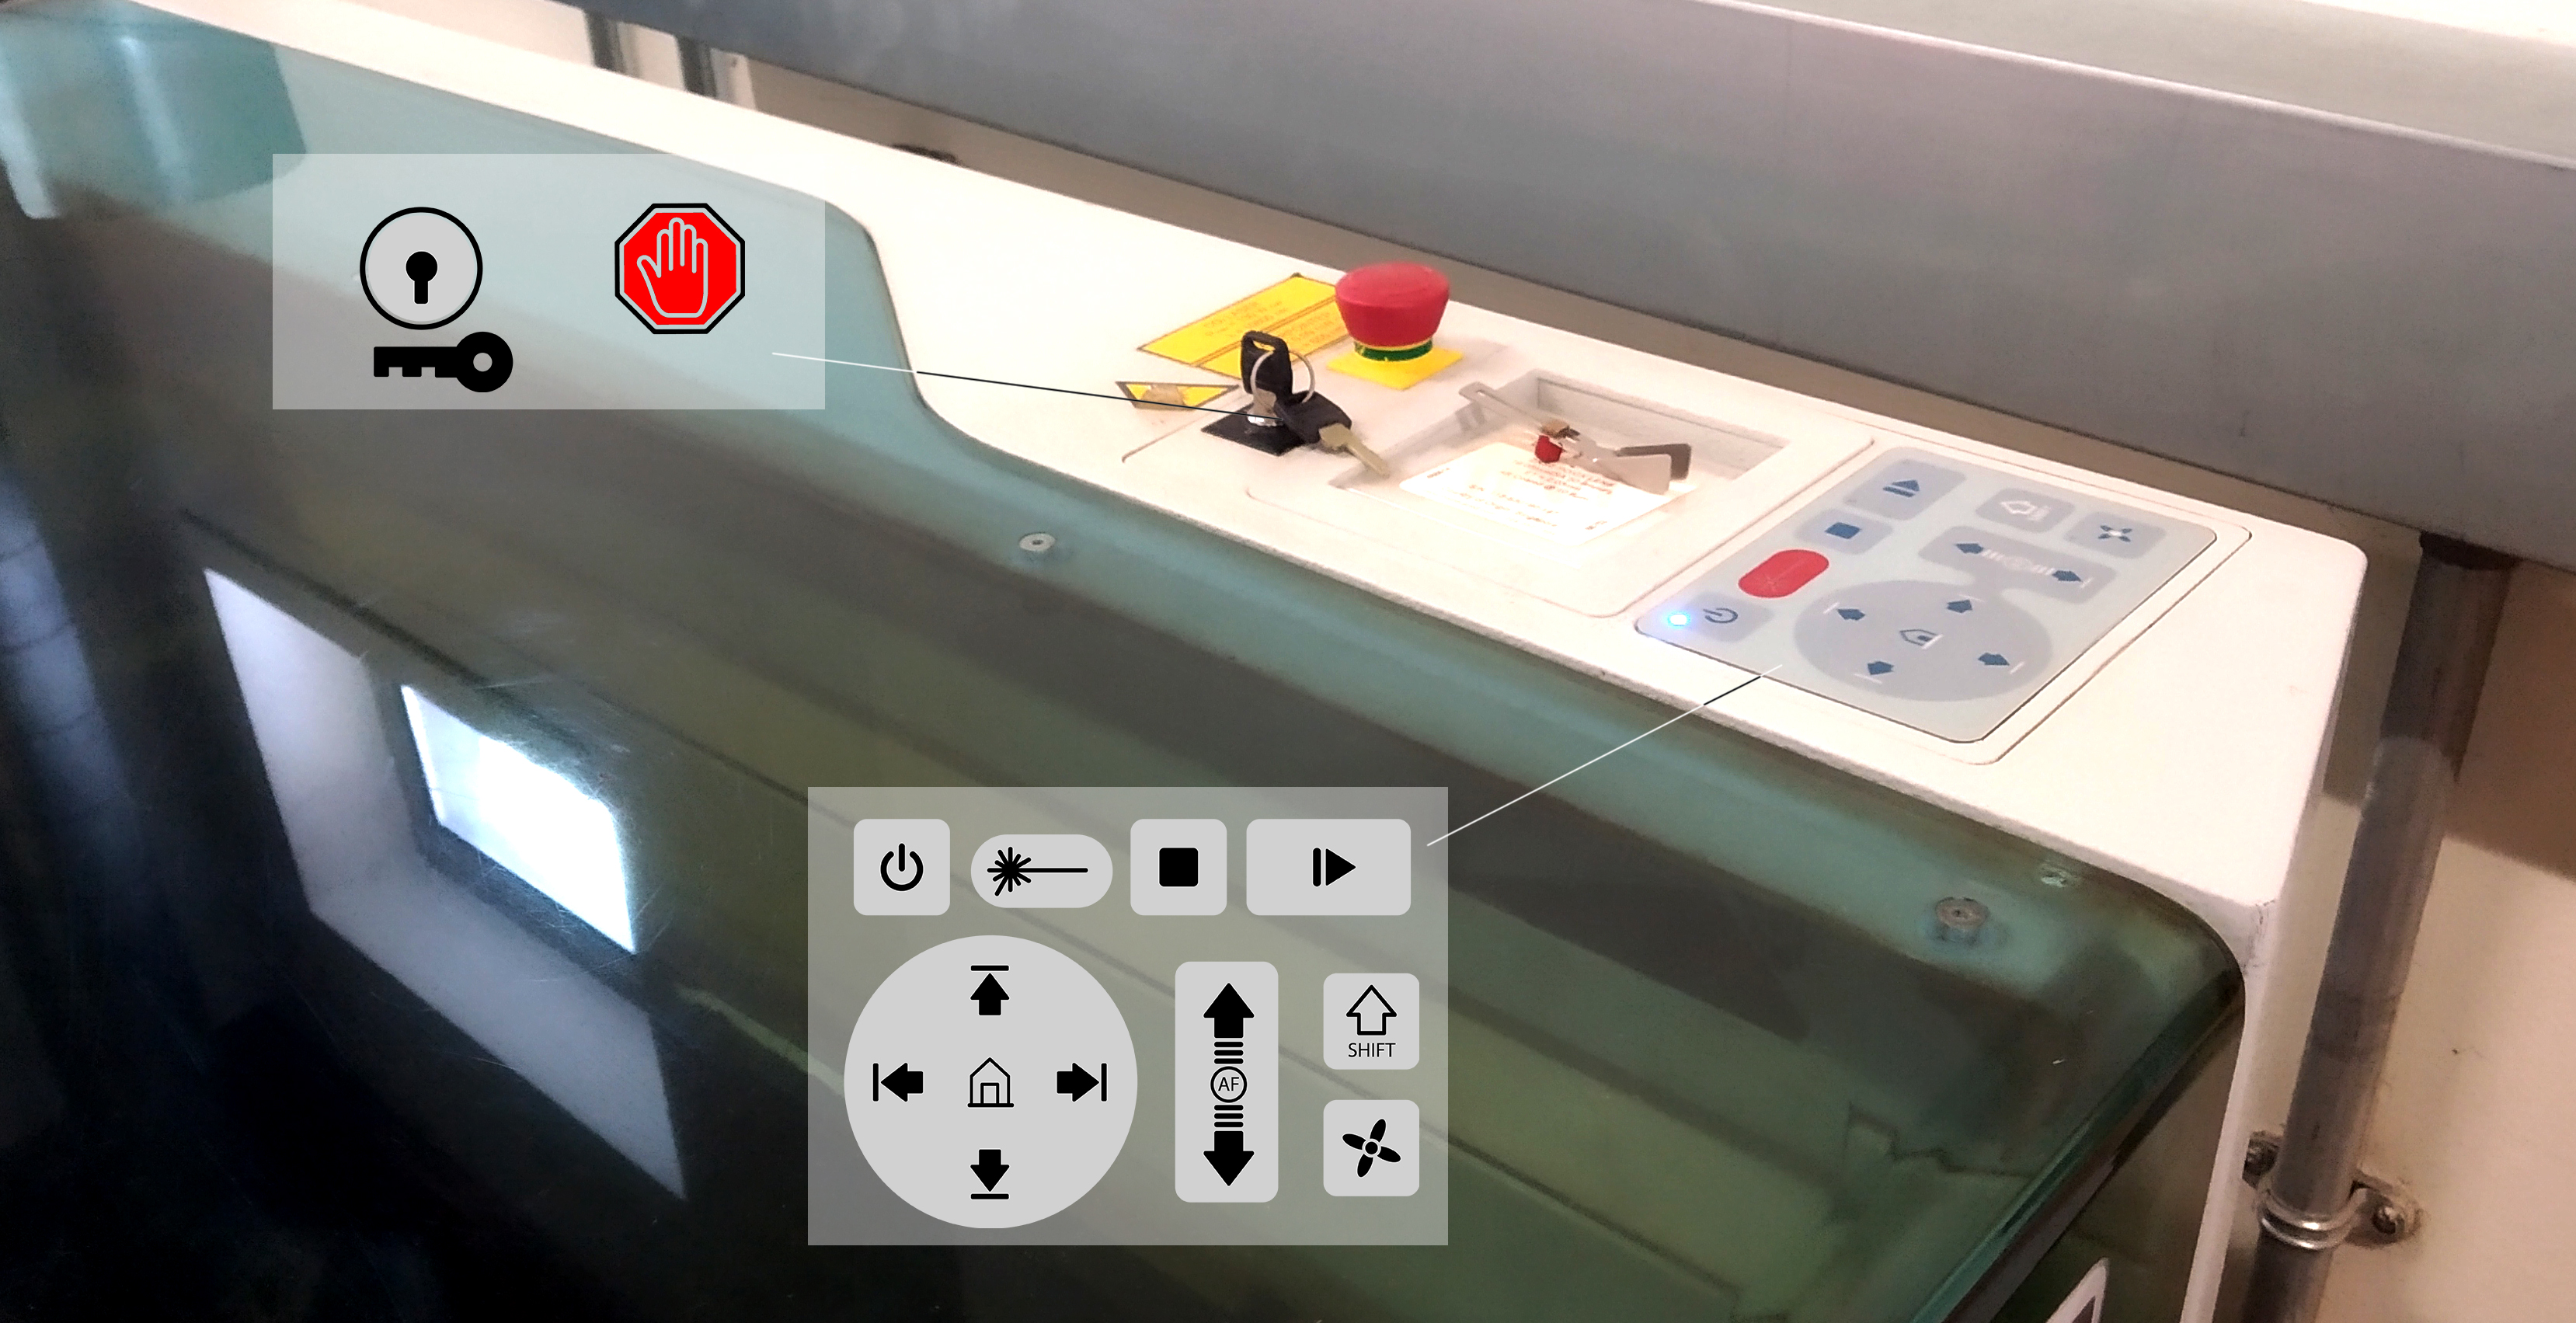
- If the laser is off, turn it on with the key switch on the right hand panel.
Close the lid, and let the machine lower and find its
homeposition.Then, place your material on the bed and focus the machine.
Note: the bed size is1000 mm x 610 mm, and that now is a great time to double-check compatible materials, if you need to.
- Focus the machine with the depth guage as normal.
(Click here to expand).
(Click here to expand).
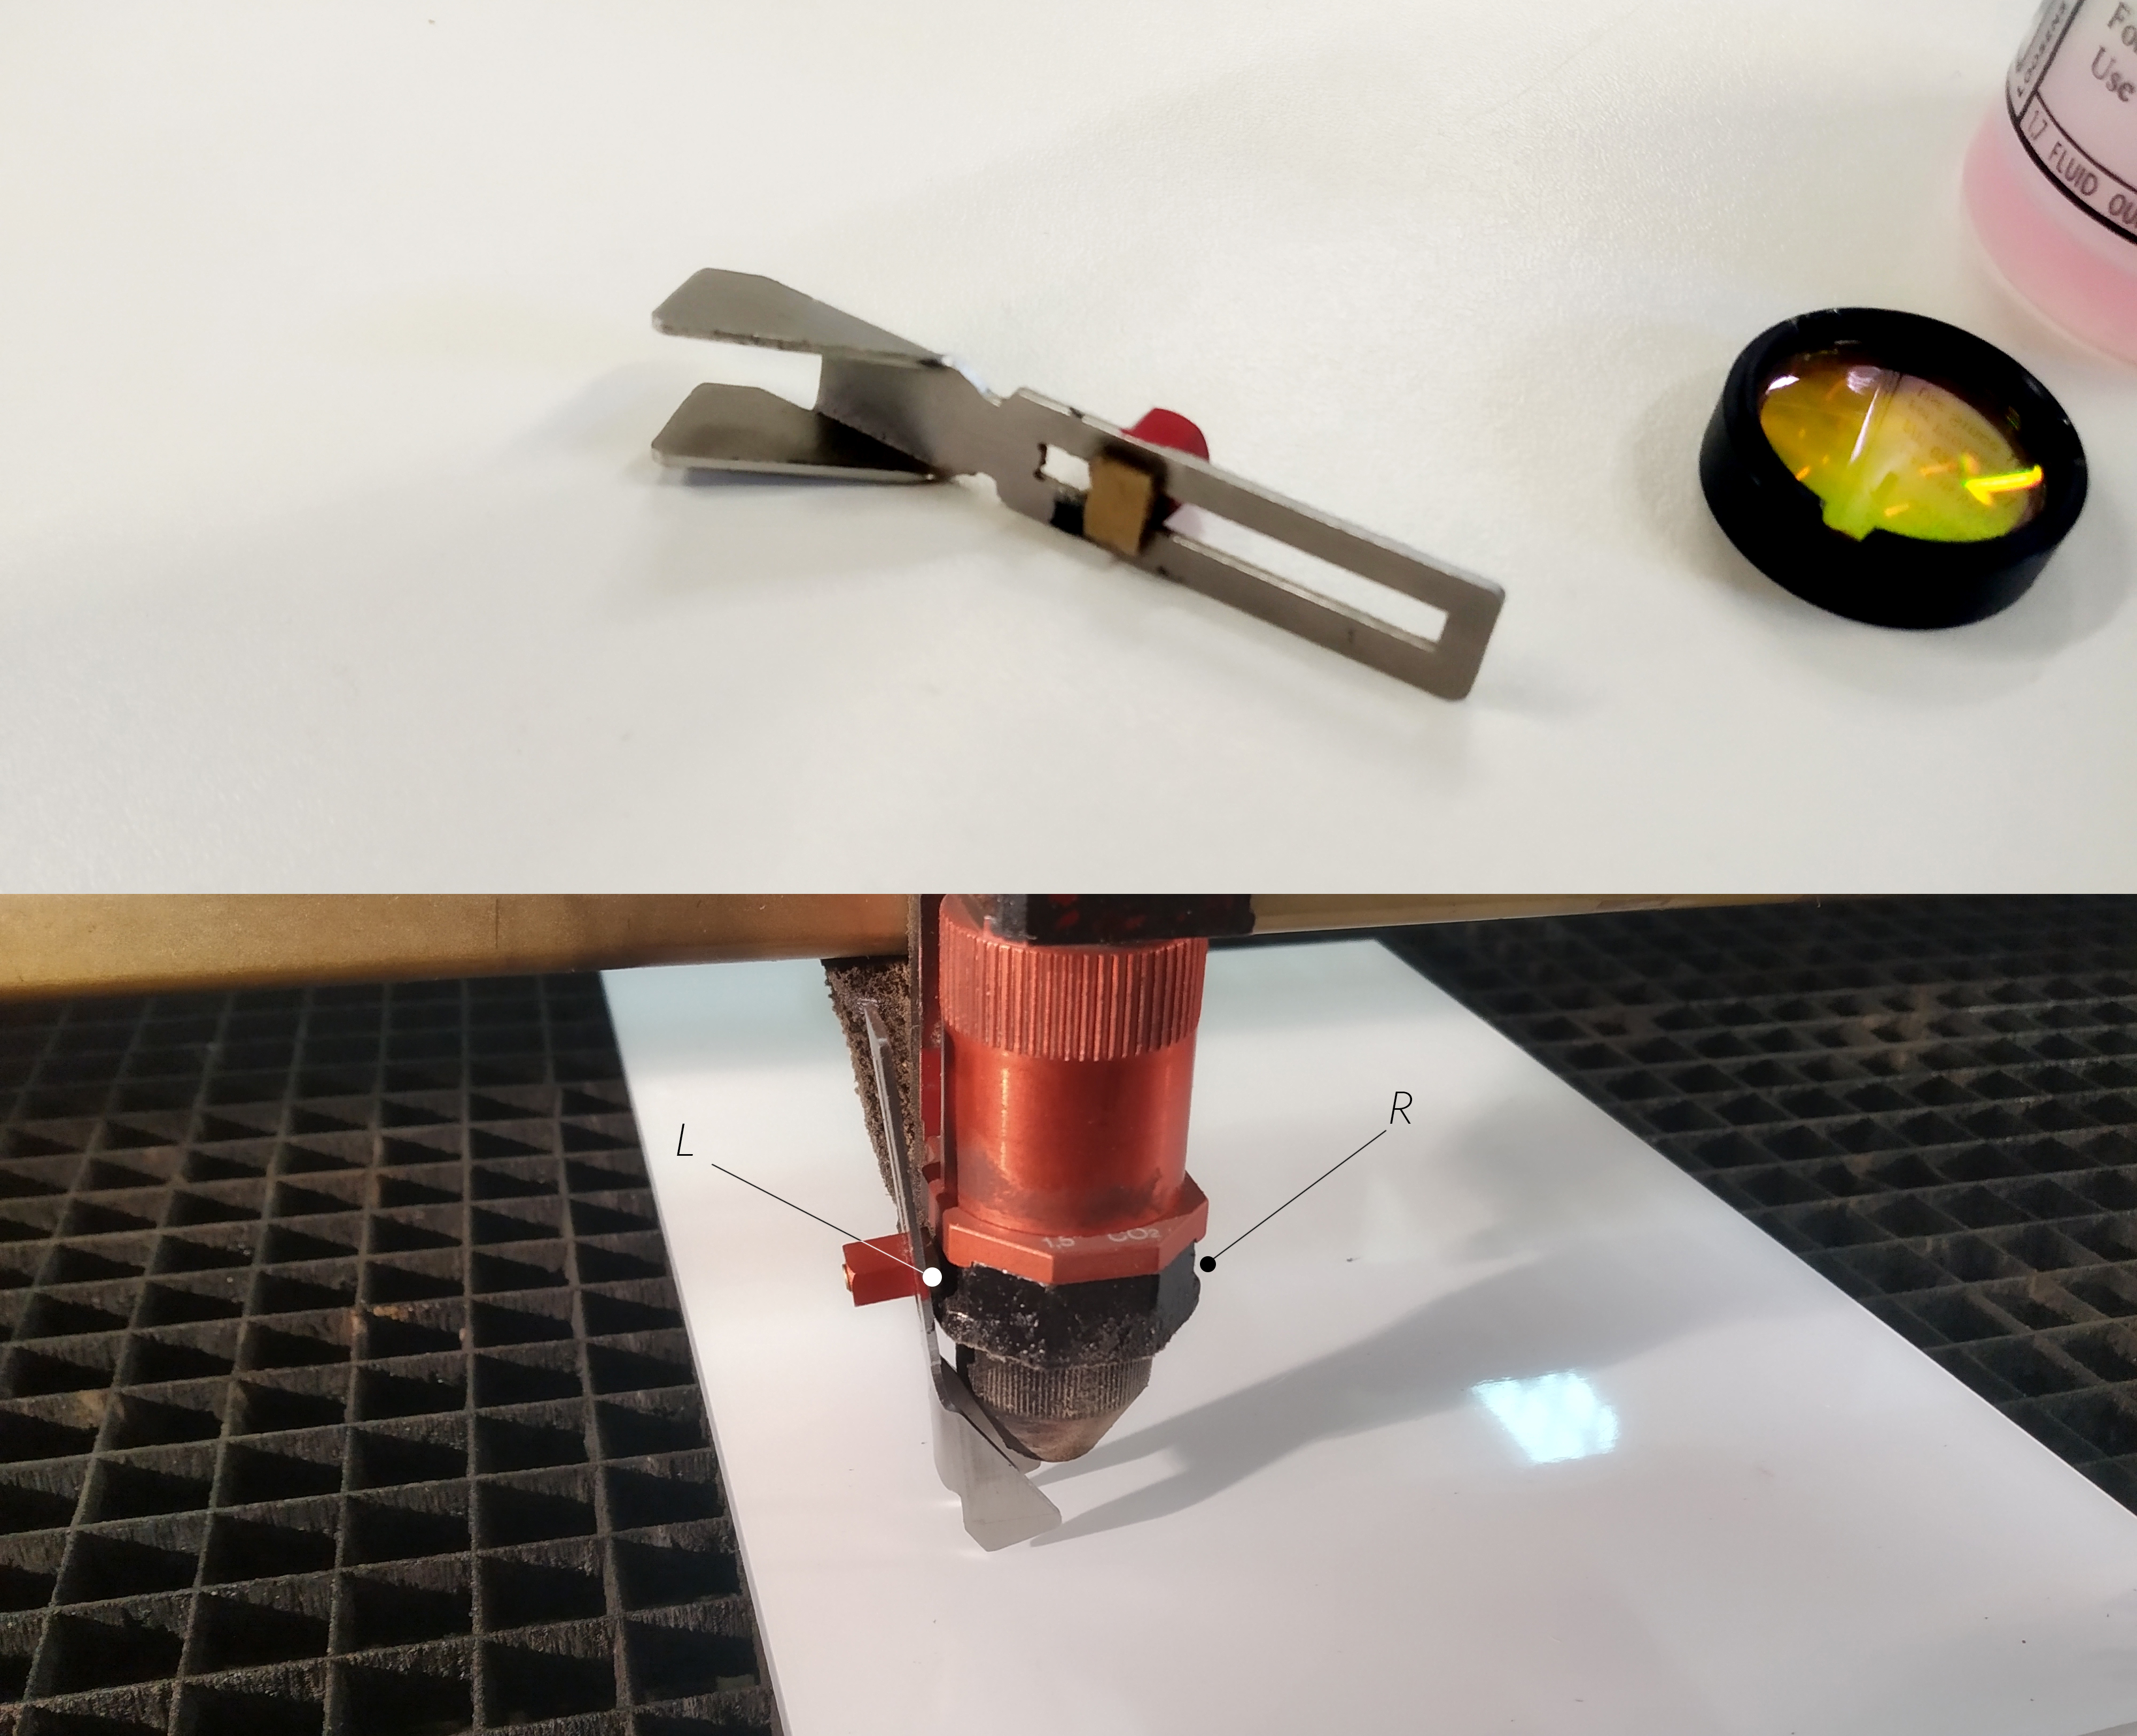 Now take the focusing tool, which is kept by the control panel. This gauges the correct distance between the laser head and the top surface of the machine. As shown, place the brass part in the slot at the side of the laser head (L and R indicated above). Bring the bed up slowly now, until the material knocks off the focusing tool. Return the focusing tool. Continue to set up your job in Illustrator and Job Control. You do not need to return the laser head to the origin position, as this will be handled automatically at the start of the job.
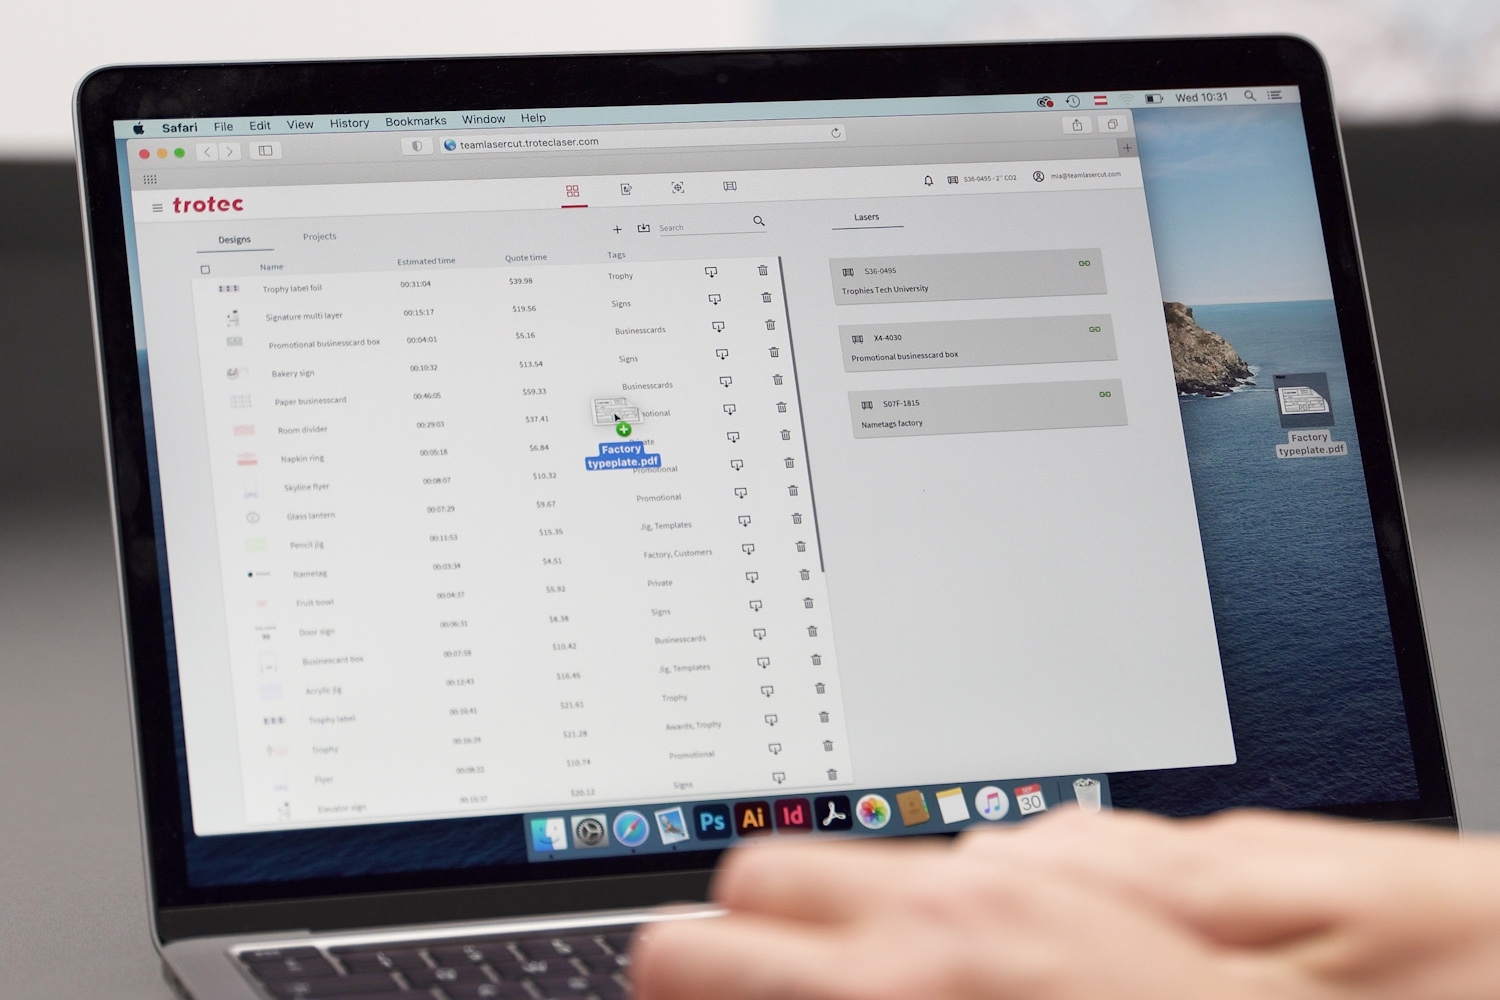
- Import your design in the
Prepare Screenwith drag-and-drop or else click the import icon: Ruby supports a number of file formats for direct import, including
 .PDF,.DXF,.CDR,.AI,.SVG,.JPG. Go to Preparing Drawings for more information.
Note: To edit a design with the built-in editor, go to the Design tab.
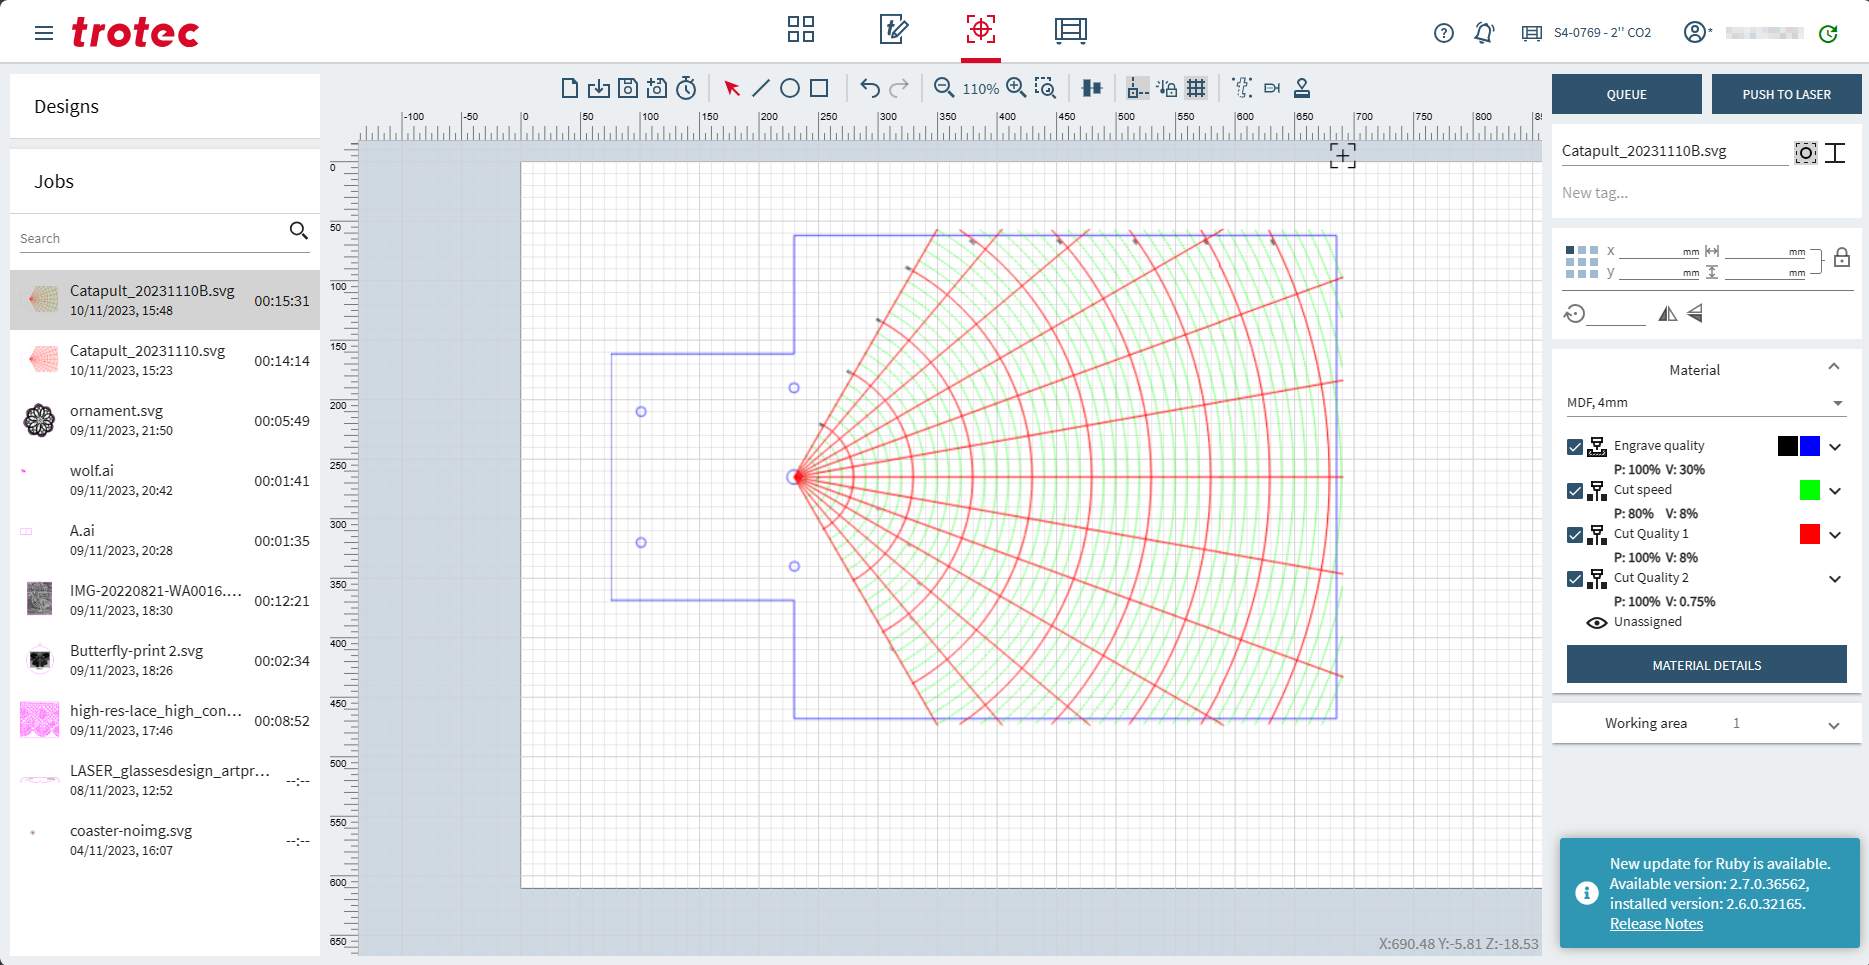
Now, you can align or position your job to your material.
- Placing it to zero-zero position means that you start from the top left corner of your laser machine.
- Or, you can snap the job to the crosshair which means that the job is placed to the current position of the laser head.
- You can also position your job using anchor points or coordinates. And use the crosshairs in different positions to make sure it fits the material.
- Once the job has been positioned, select the material you are using from the material list on the right. This is searchable, and you can enter the name, category, thickness or other to help you find the right profile.
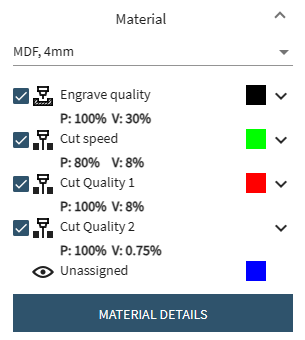
Make sure that all colors in your design have a profile assigned. Unassigned colours are listed on the materials tab, and you can make edits here to overwrite settings if desired. (Select 'NO' if it asks you ro reload from Database).
Now click on
PUSH TO LASERto add your job to the queue.And finally press the start button...

Further Info
-
Remote connection to Ruby is not working for us yet.
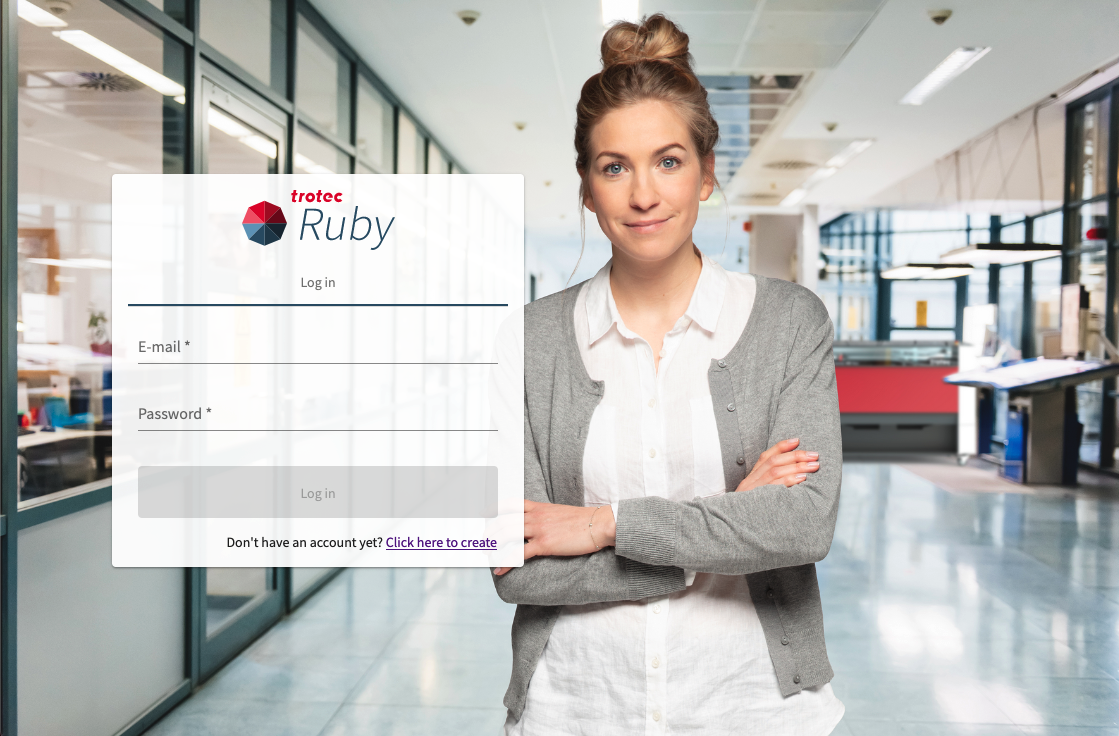
Connect to Ruby
The address for Ruby is https://10.222.11.52:2402 This only works when you're on the Eduroam or UL_guest networks within the Fab Lab and when Ruby is running. Ruby works in either Chrome or Edge browsers.