Vinyl Cutter
v0.3 by Ger Walsh - January 2025
General
Vinyl Cutters cut vinyl, flock, card, and paper. Vinyl is commonly available with an adhesive backing (for window stickers, or stencils) or as "Heat-Transfer Vinyl", that can be used to put graphics on clothing, with a suitable heat press. Vinyl cutters can even be used with ink pens to produce graphics as with an older-style plotter, or some vinyl cutters incorporate inkjet, or other types of printing to both print and cut material.
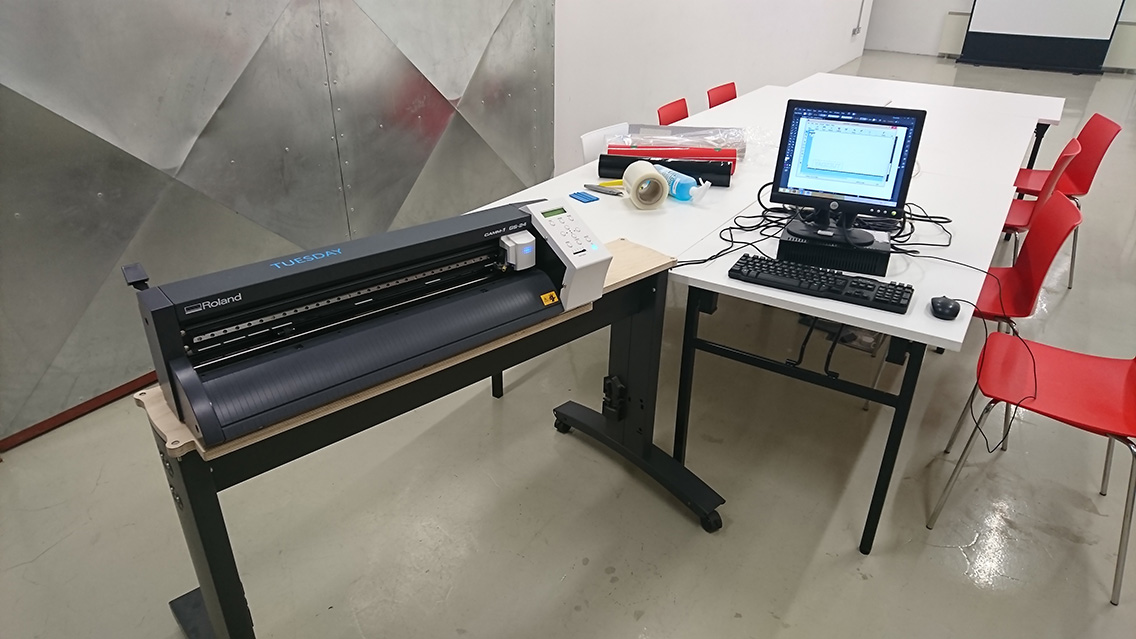
Specifics in this guide will refer to the Roland Camm-1 GS-24, which is a vinyl cutter popular with Fab Labs and maker spaces. You may have heard of Silhouette, or Cricut.
Setup
The Vinyl Cutter is connected by USB to the computer adjacent. The computer is already set up with the print driver, and InkCut.
The filetype you need is .SVG. Inkscape, Adobe Illustrator, and Affinity Designer 2 are able to create a suitable file.
Preparing Drawings
Your file should be portrait, with the width you get when you set up the material (It'll be something less than 500mm for example with the large rolls, based on the space left between the wheels).
Outline any typography in the drawing. Make lines 0.1pt thick and black. Other line colour may be used for different settings(pen strength, etc.), but isn't needed for basic use.
Use Bitmap or Image Tracing to convert JPGs and other raster objects to vectors.
Consider putting an outline cut, if it helps later as a margin.
When your drawing is ready save as an .SVG.
Preparing the Vinyl Cutter
The Vinyl Cutter can take sheets or rolls. For rolls, use the holder that mounts at the back of the machine - the roll rests on bearings and allows the machine to pull on the material without resistance. Pull the material through, and align the wheels at both over the material, and within the highlighted areas (marked with white). Press the lever to fix the wheels. Select Roll or Sheet, and press Enter. The head now moves across and scans the width of the material. And moves to the origin position. You can use the directional buttons to move the material, and the knife up, down, left and right.
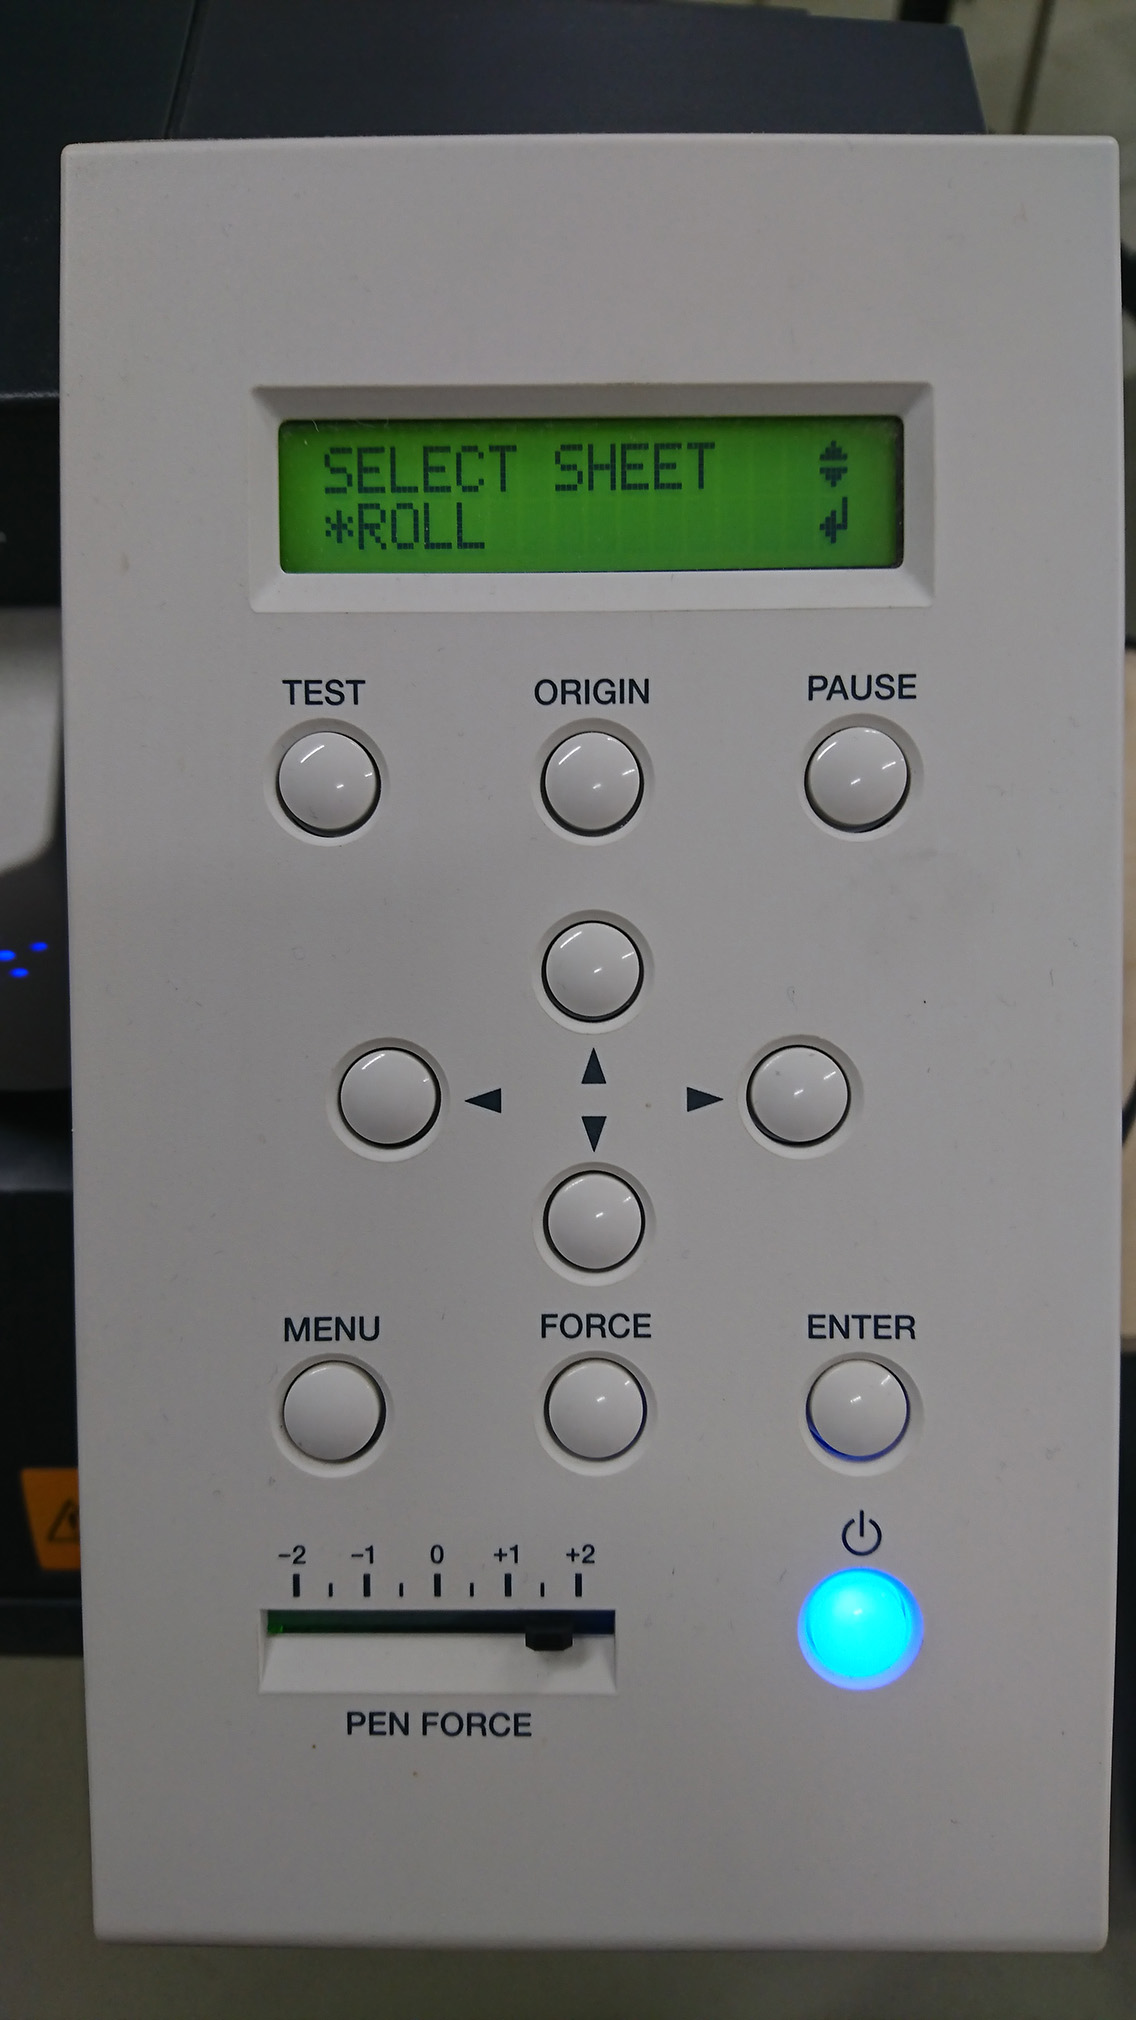
Hold the test button to cut a pre-programmed "t" graphic, for testing. This allows you to quickly find the correct gf setting for the loaded material. For instance, the supplied material cuts well at 30 gf. Press force then select the gf strength, and press enter to try different settings.
Hold the origin button to set the current knife position to the bottom left limit. Note that this reduces the usable area of the loaded material, and that cutting will happen above and right of the origin.
The cut job will be started from the software.
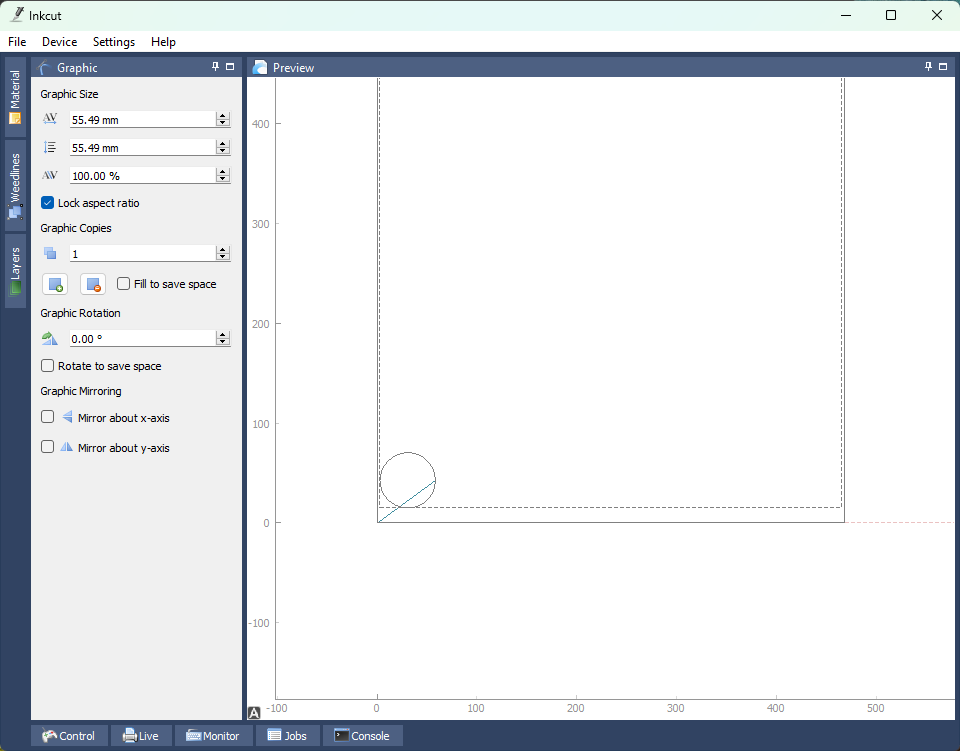
Sending from Inkcut
Start Inkcut from the desktop or the start menu. Open your .SVG file. You have tools to do some Arrange, Scale and Mirror functions. When ready, press the Live icon, and then Start to set up a cut job.
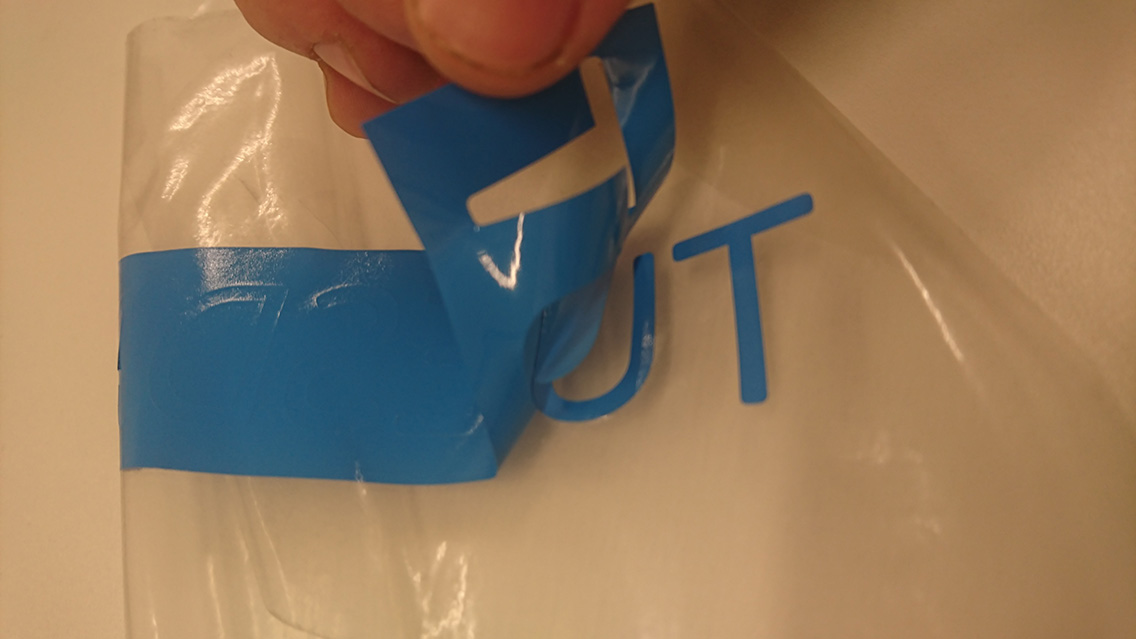
Applying/Transferring Graphics
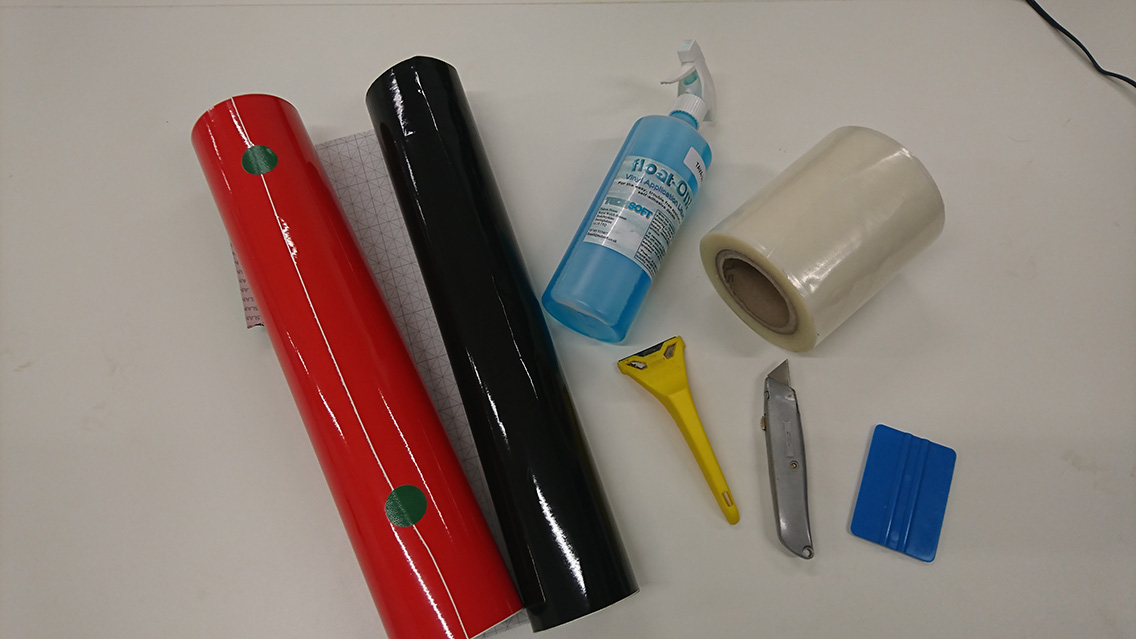
There are different techniques to transfer vinyl, but often you have transfer tape, weeding tools, like scalpels and picks, spray products
Transfer Tape goes on front of the vinyl. You can remove the paper on the reverse, attach and position directly on the surface. Then remove the sticker, and carefully remove the transfer tape, so that nothing comes away unintentionally. Have a sharp tool at hand to help separate the remains and inside cuts and take them away.
Optionally you can try and do this first, or on the transfer tape, which does help with alignment.
Using the "FloatOn" spray makes the vinyl re-positionable. It vapourises after a few minutes, and the vinyl stick permanently.