Setting up PreForm (SLA)
v0.1 by Ger Walsh - June 2022
![]()
PreForm is Formlabs' "print preparation software". PreForm accepts STL or OBJ files from your CAD or 3D modelling software. Preform is a tool that allows you to prepare and arrange jobs and upload and start your prints over WiFi. Formlabs have an online dashboard to upload jobs, monitor prints and the machine remotely.
Preform is available for Windows and Mac. The software is free.
You can download it from https://formlabs.com/software/ - Current version 3.25
Getting Started
- On opening PreForm, your printer may be set to another printer. If you're not on the same network, you can choose one of the printer models listed below and still prepare the job, and set everything up.
Preform Job Setup
- To add a model (STL or OBJ file),
- Drag and drop the file on the main work area, or,
- Use
File > Opento select a file from some other location on your desktop. You may have more than one model in the same job. You can also useFile > Opento open previous.FORMfiles (project files).
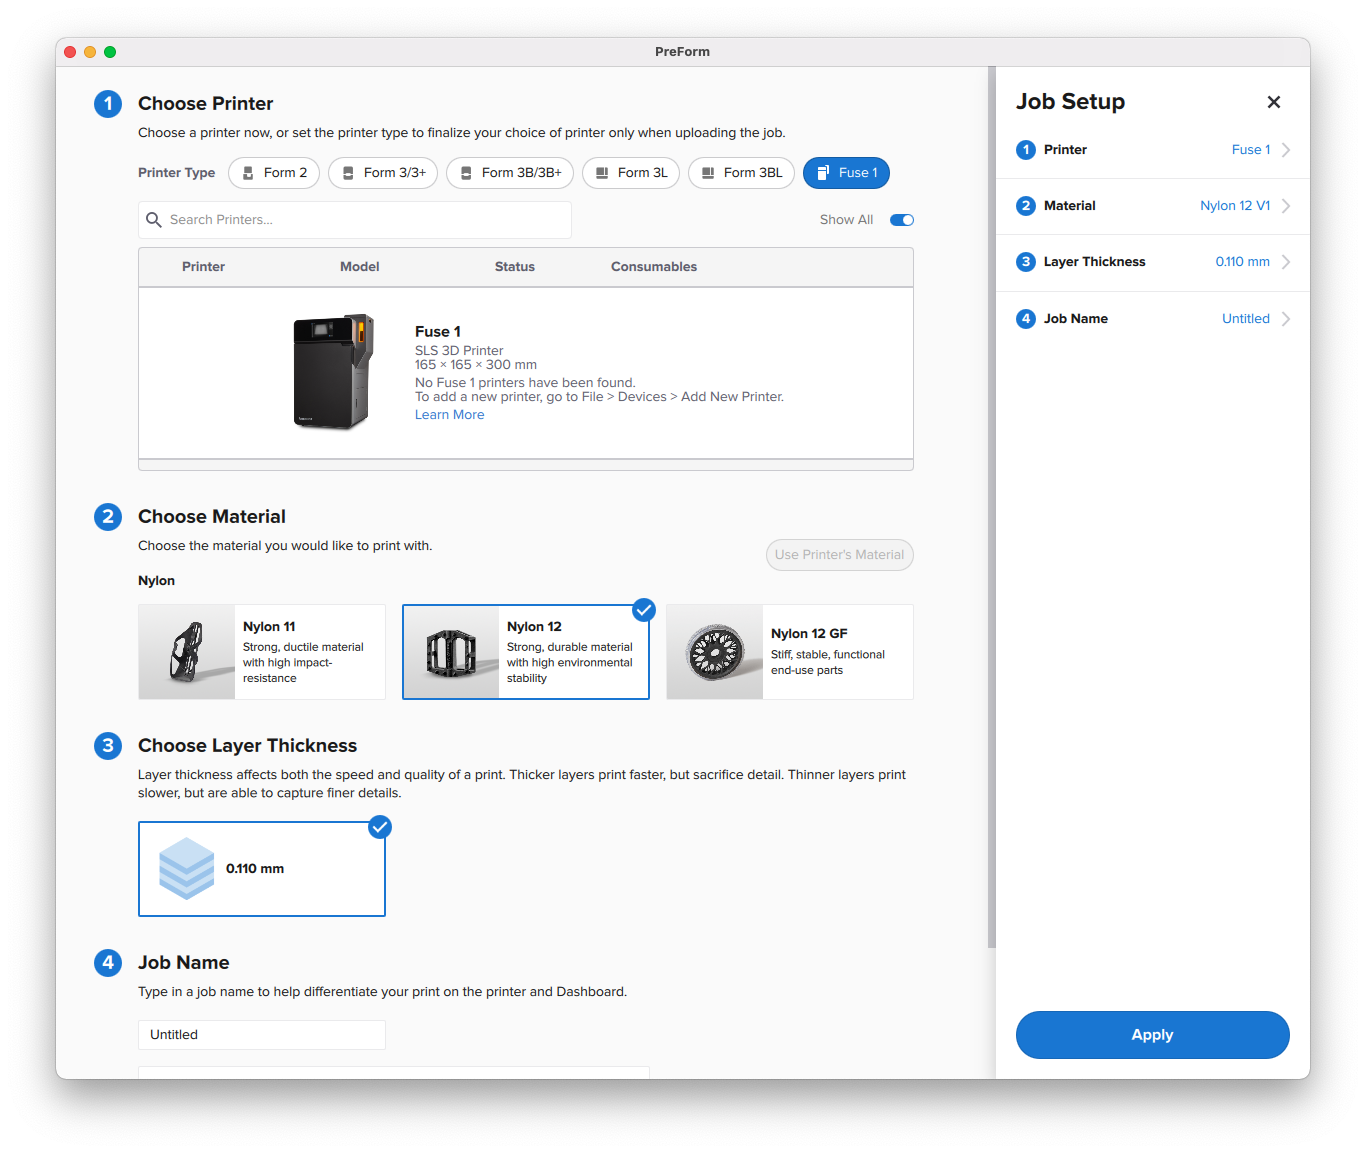
- Job Setup,
- Material, Layer Thickness, Job Naming and other Pring Settings are set in the screen above. Click
Job Setupon the right-hand dashboard to open it. - Material can be set to Clear v4, Tough v5 or similar, and will warn you on upload and not print materials that are not in the machine (see SLA Materials)
- Layer Thickness, there may be more options dependent on the material choice: 0.050 mm, etc.
- Material, Layer Thickness, Job Naming and other Pring Settings are set in the screen above. Click
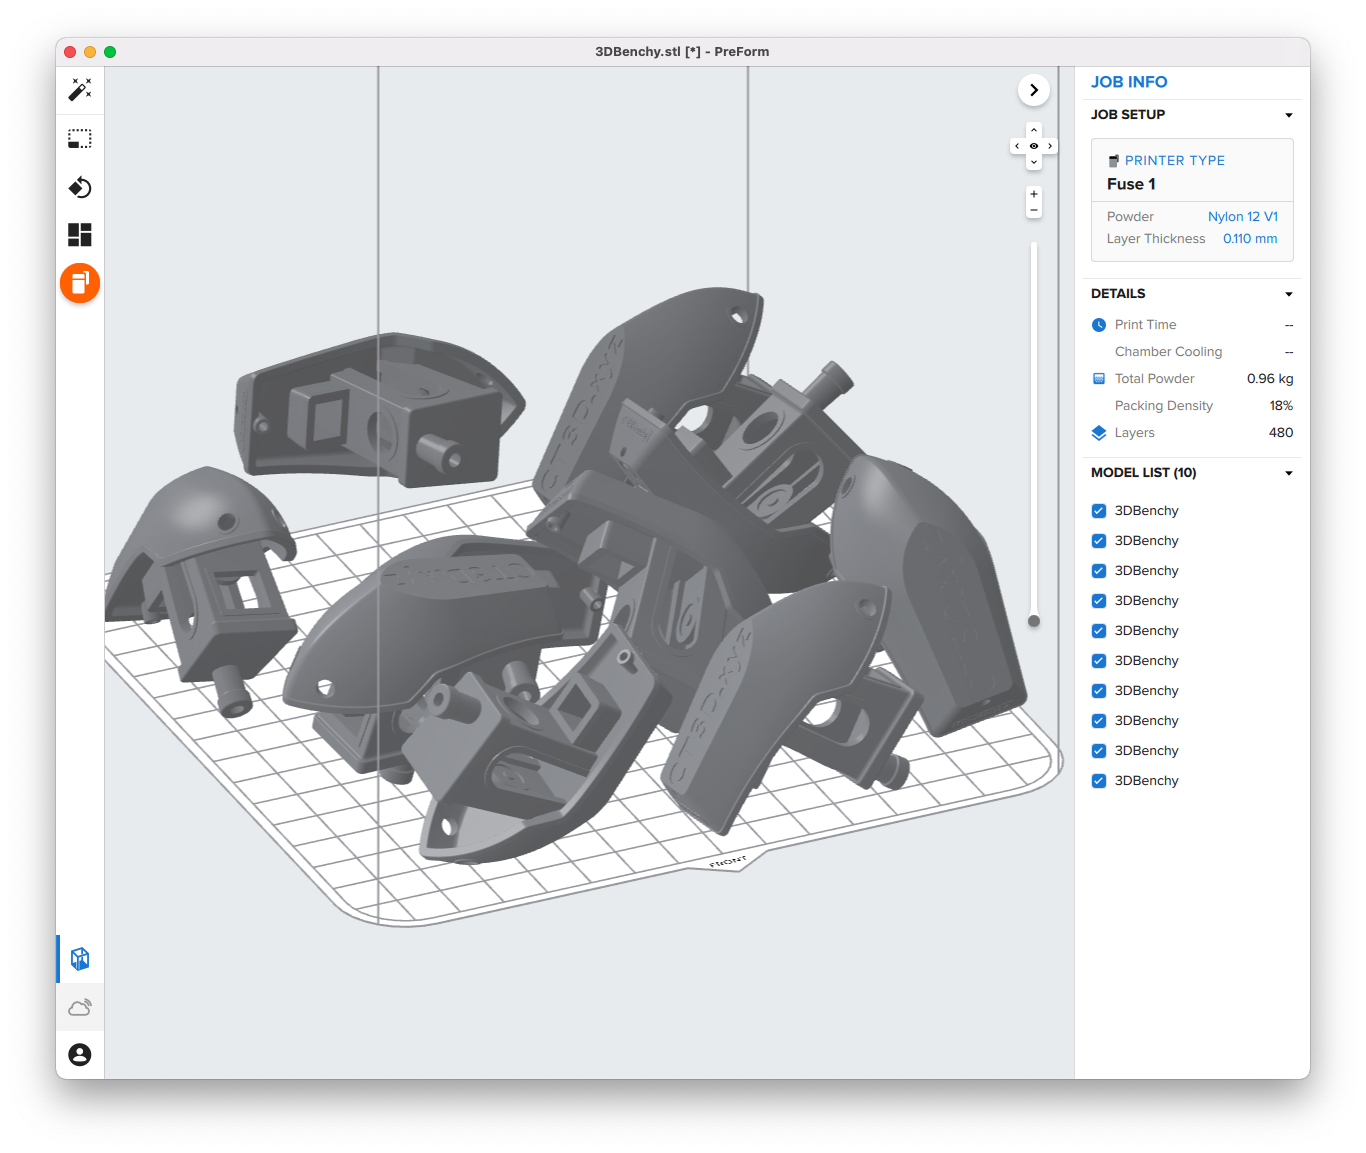
- "One-click Print" (Magic wand symbol, automatically scales and positions your models). However, Scale, Rotate and Layout buttons on the left allow you to set these options manually.
- Sometimes it gives you the jumble of models shown, but surprisingly, they are all valid prints!
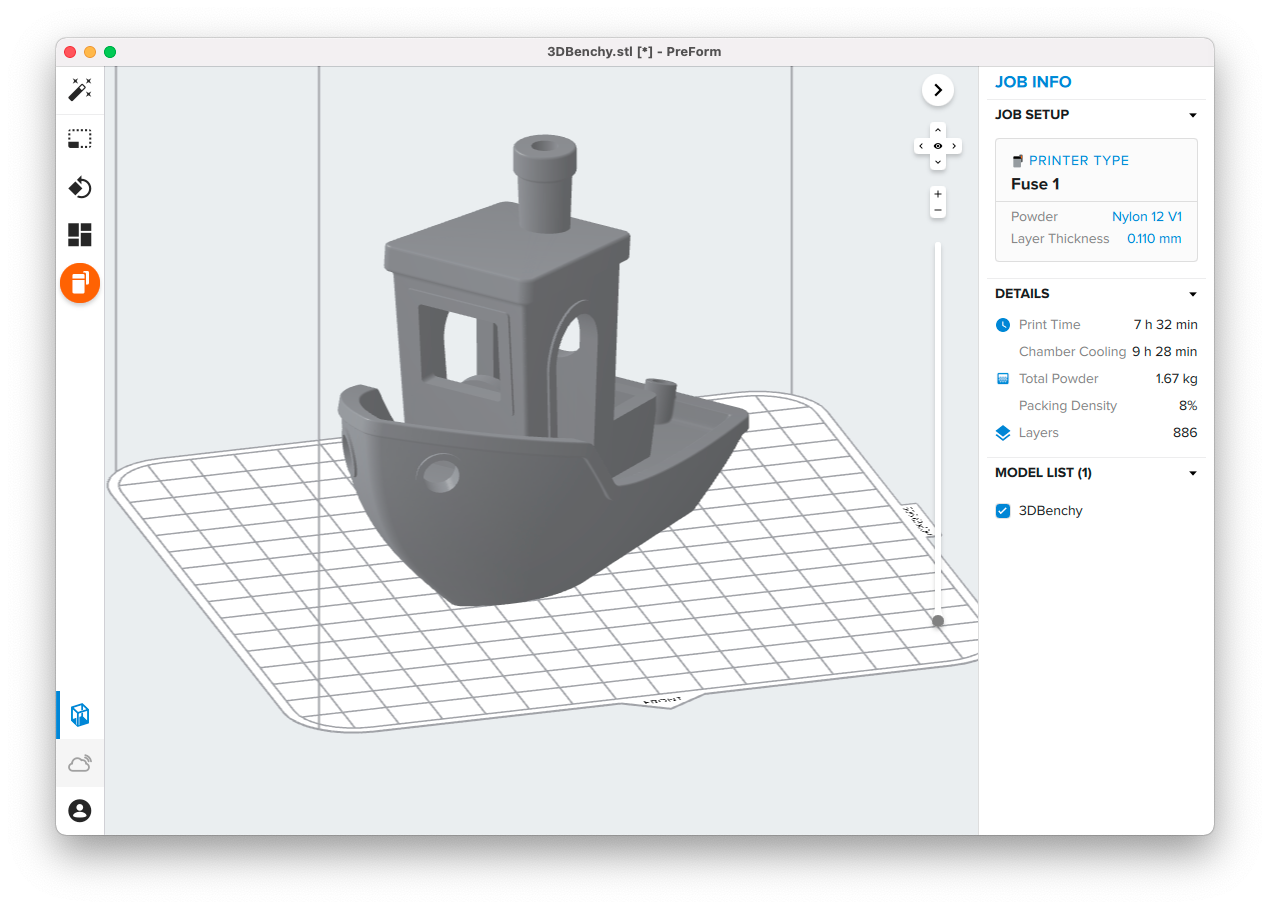
- Send (the orange printer button),
- The right-hand panel will show a breakdown of time taken to do print and to cool back down. You need to hover over and click the refresh button to get this the first time.
- The calculation also gives you the
Printing Volume(L), time to print, and number of layers. - Select
Upload Job. - On the
Form2you will need to confirm that the correct materials are in place, the bed is clear and that the vent on the material cartridge is open. Press the button to confirm the print will start.
Next Steps...
Head over to: SLA Curing and Washing.