SketchUp
SketchUp is a 3D-modelling software used for a broad range of drawing and design applications — including architectural, interior design, industrial and product design, landscape architecture, civil and mechanical engineering, theater, film and video game development.
It was originally developed at Google and is owned by Trimble since 2012.
Sections
Getting Set Up
SketchUp online is free and works in your browser. SketchUp Online requires you to make a TrimbleID account.
SketchUp Pro can be downloaded and has a number of other features, incl. importing .DXF files from AutoCAD. Pro is for Windows and Mac only. There are various licenses available.
- Glossary of all tools.
(Click here to expand).
(Click here to expand).
Navigation
A mouse makes the interface easier to use.
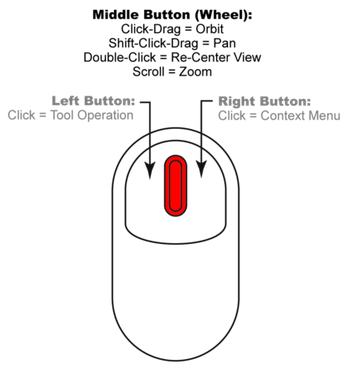
On the Online Version, click the Trackpad icon ( ) on the bottom row to change to the mouse settings. Click for more options to adjust sensitivities and inversions.
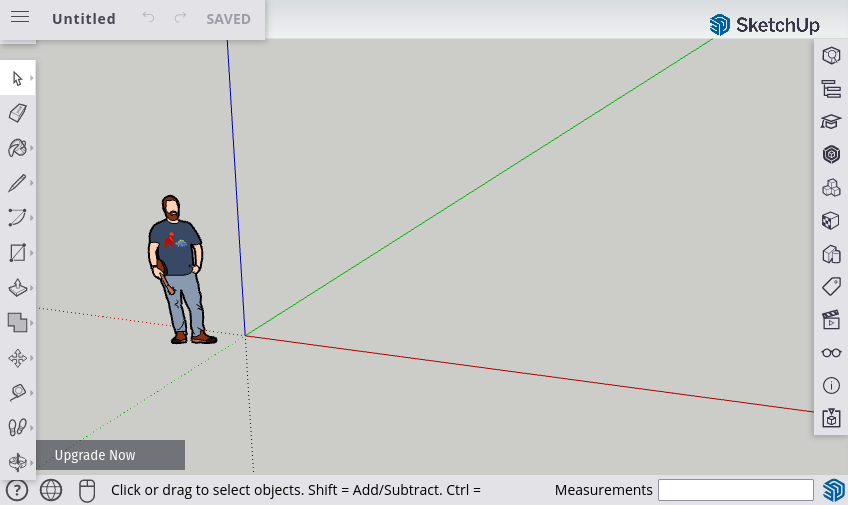
Screen layout and toolbars
The screen in your bowser has the following elements:
- File Menu at the top
- Toolbar at the left
- Panel icons at the right
- Viewport
- Axes
- Styles
Go to the Menu > App Settings, and then set your model to work in Millimeters.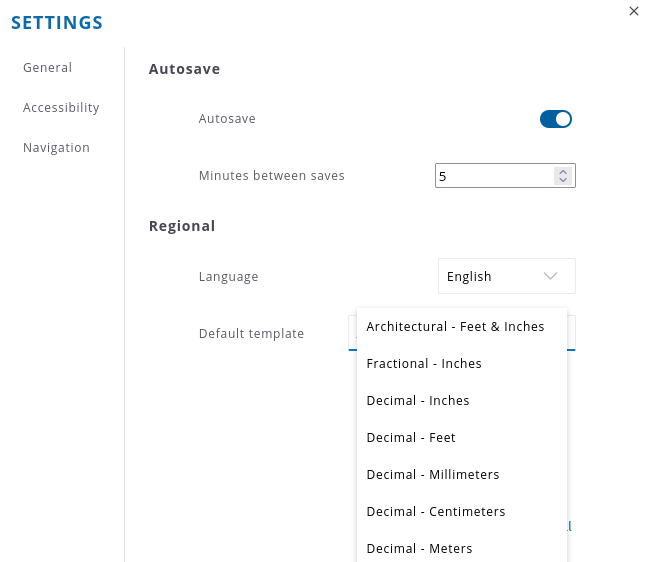
Lines and Shapes
SketchUp contains a number of basic shape tools.
Pay attention to the "Measurements" input box at the bottom right as you use the basic tools. Sometimes you can enter lengths, but with the circle tool, you can entre the number of sides.
Note, this is how SketchUp understands curves - a circle is a polygon with many sides.
Confine your lines and shapes using your keyboard arrow keys. As follows,
- Green: left
- Blue: up/down
- Red: right
Push/Pull (P)
When you have a _valid_ face drawn. ie with complete, planar lines, SketchUp will fill between the boundary. The Push/Pull tool is a basic extrusion and _pulls_ your drawing into 3D.
Follow Me

The Follow Me tool does just as it sounds. It expects you to select a path or a rail beforehand. And then click "Follow Me" and then click the surface to pull along your first selection.
It's a complex and useful tool, so have a look at this page, for more examples.
Outer Shell
Outer Shell expect two groups to be selected, and adds everything to give you the resulting combined shape. Other Boolean tools (subtract, intersect) are Pro features unfortunately. Outer Shell needs 2 or more grouped, closed objects.
Rotate (Q) and Scale (S)
Use to Rotate and Scale selected objects. Pay attention to the tooltips at the bottom of the screen which tell you which modifier key (ie. Shift or Ctrl) can give you different results.
Drawing with Measurements
The Measurements input box on the bottom right. Often when using tools which expect a number, it will automatically type here.
You can, for instance, start drawing a line by clicking the start point, then just type the measurement. Align with the mouse or confine to one of the orthoganal directions with the arrow keys. Press Enter and the length will be confirmed.
Use the measuring tape to take a measurement of two points. AND, if you enter a number to correct this measurement to, it will resize the whole model or the group you are in.
Exporting for 3D Printing,
Menu Icon > Download > STL.
Or from SketchUp Pro, File > Export > 3D Model. And then choose STL as the file type.
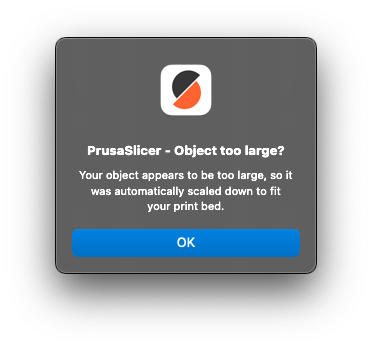
Remove everything else from your model and scale your model down (eg. 1:500). Some slicer programs can manage multiple part files. The "P" icon at the top of PrusaSlicer will split the model into parts and you can delete other objects, but it may have auto-scaled it when you brought it in, so you have to double-check your World Scale (%) on the right hand side panel.
Preparing for 3D Printing...
To print your model, you need to use PrusaSlicer to prepare your G-Code.
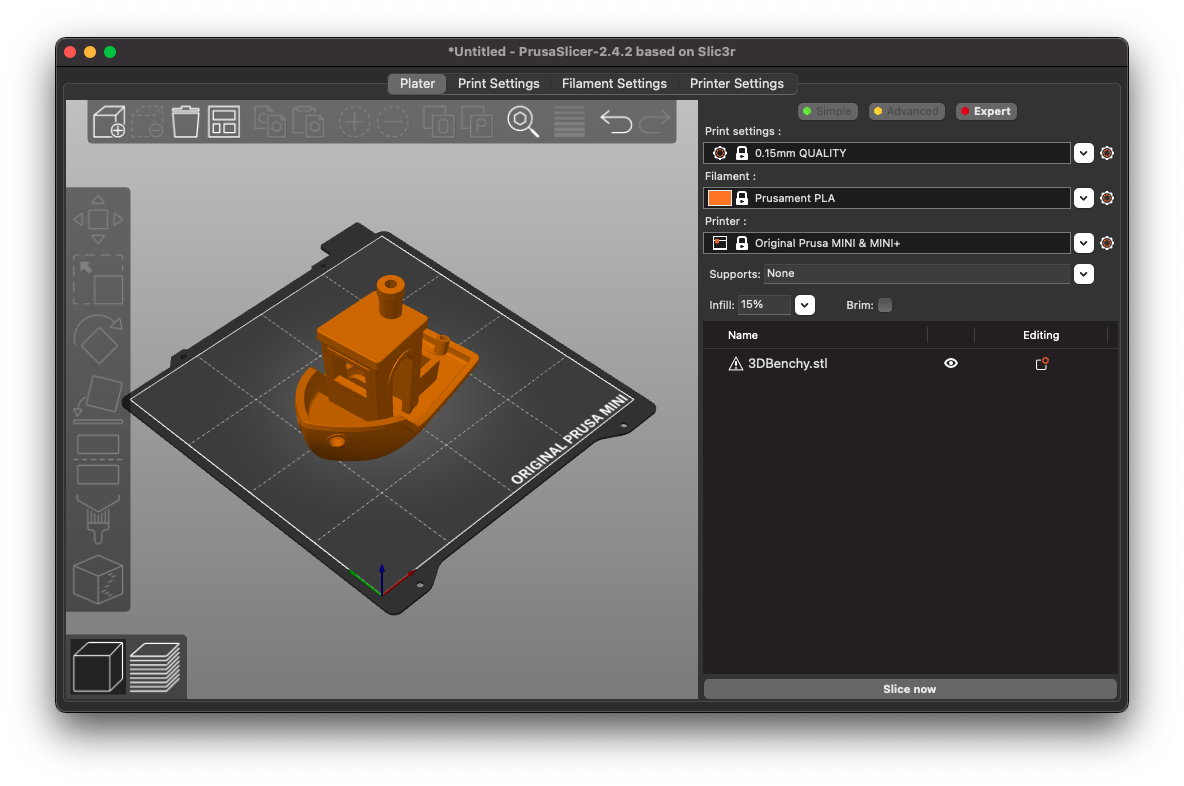
To set it up on your computer, follow this link.
Fix 1. Gaps
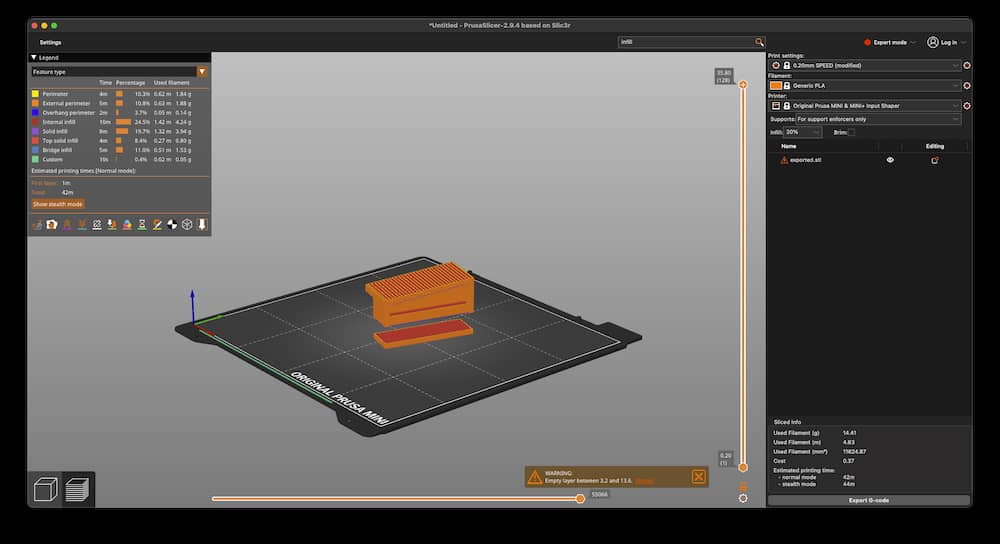
The most common fix will be fixing gaps. These cause whole skipped layers in your preview, and are highlighted in blue in the slicer program.
Quick Fix (Windows Only):
- Switch to
ExpertMode on the top-right - You can now see the model list on the Right-hand panel. Right-click the
warning triangleicon before the item name and it will try to automatically repair.
Gaps otherwise have to be fixed back in SketchUp, and your model reexported.
Fix 2. Bad Surfaces and Non-Manifold Edges
Bad surfaces are surfaces that, for instance, face backwards, and stop the model from being sliced correctly. In SketchUp, these look like a darker grey surface. Right-clicking and Align Faces will hopefully fix, you can also flip individual surfaces that way. The Automatic fix above may solve this problem automatically.
Non-Manifold Edges adjoin shapes that are ambiguous or without any volume. (Basically twisted like a mobius strip, or caused inadvertently by self-overlapping shapes).
It's not clear which volume is meant to be kept and this needs to be resolved (usually simplified) in SketchUp.
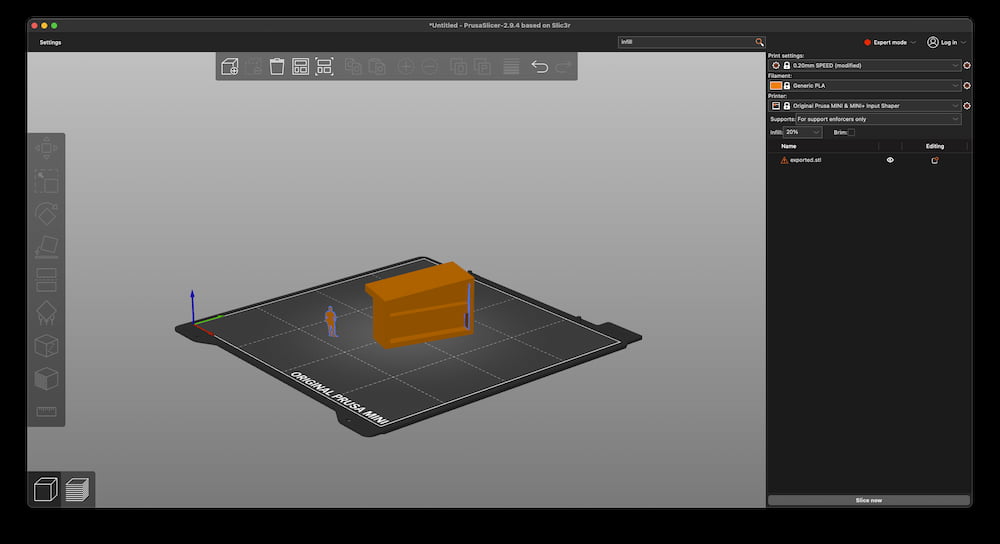
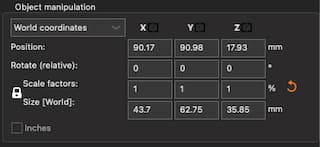
Fix 3. Scale.
Adjust object scale(as a %) in this panel (on the right-hand-side in PrusaSlicer):
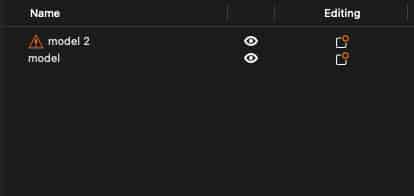
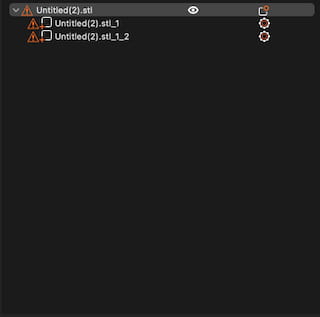
Fix 4. Other objects in the model.
- Switch to
ExpertMode on the top-right, if not done already
(Ultimately it is better to remove everything from the model before export). You can use the "P" icon and the "O" icon to ungroup by object or ungroup by part.


And select on this list to remove:
Fix 5. Gaps continued.
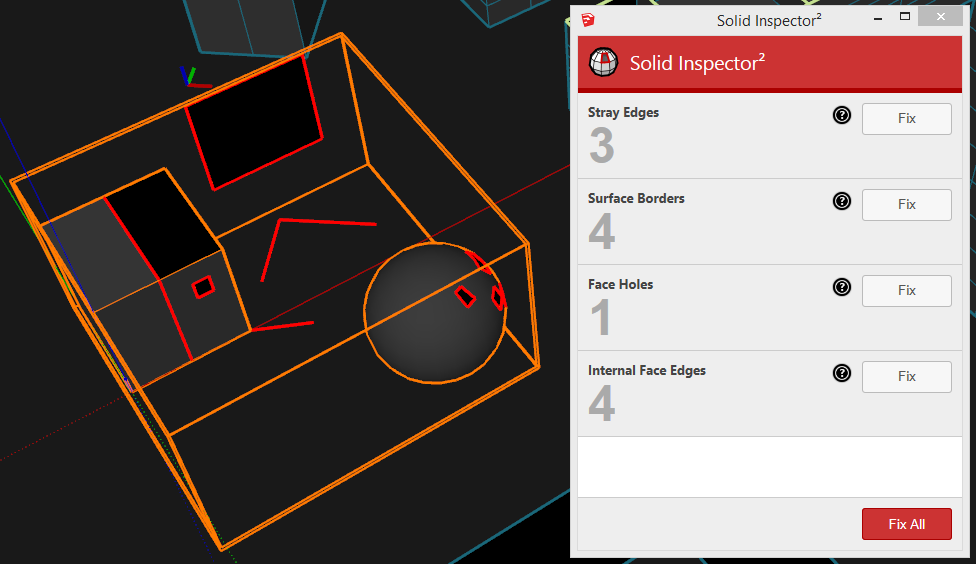
There is a SketchUp Pro extension called Solid Inspector2, which is a convenient way to check over your model. It lists and highlights naked edges, and shows you other errors.