3D Printing FDM (Fused Deposition Modelling)
v0.4 by Ger Walsh - Nov 2023
General
Video credits to UltiMaker.
FDM is short for 'Fused Deposition Modelling'.
It is a process of fusing layer-on-top-of-layer of suitable material, to build up a 3D object.
Materials
There are many plastics and bio-plastics suitable for FDM printing. This category is generally called Thermoplastics, and some of the common types are PLA (Polylactic Acid), PET/PET-G, ABS, PS, TPU, and some mixed filaments that contain a kind of aggregate, in small particles that passes through the machine, e.g., metal filings, fine sawdust or filler made of coffee grounds, glass dust.
Almost all FDM printers use filament, i.e., rolls of long plastic strands. They are commonly available in 1.75 and 2.85mm.
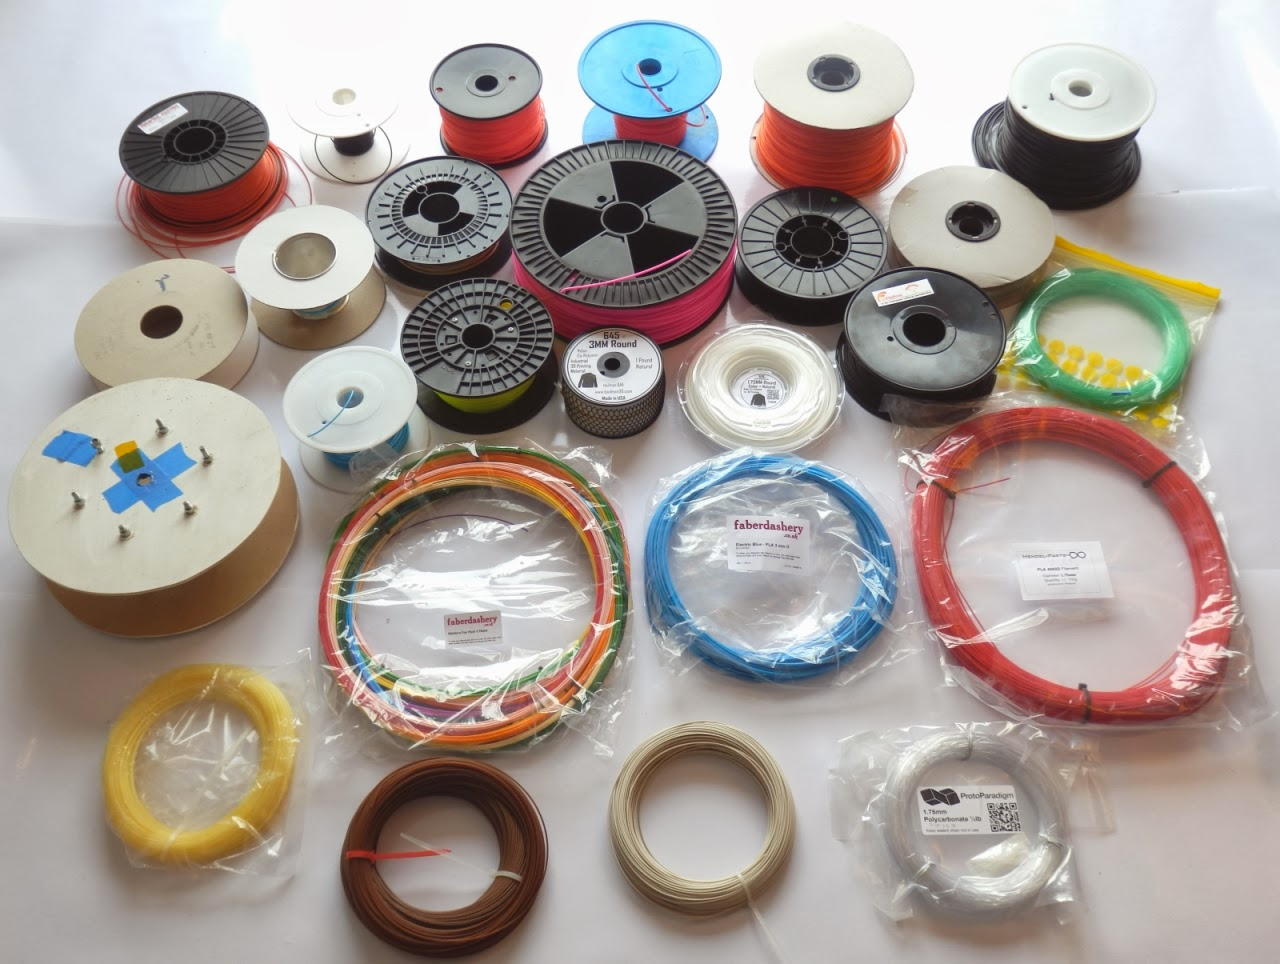
We keep a good supply of PLA plastic. We can order more material as required, though we also welcome people bringing their own material. New materials are being developed regularly including metal composites.
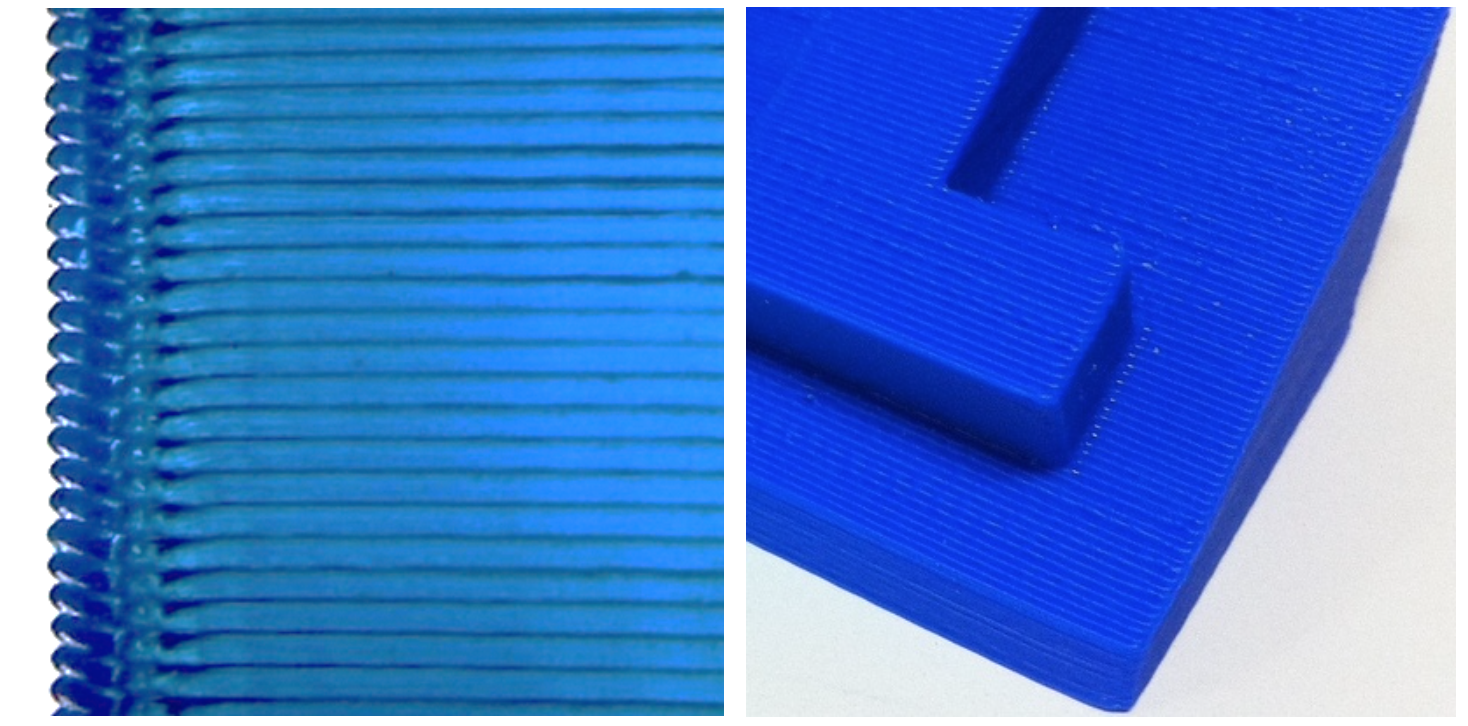
Properties
The properties of the printed objects, of course, stem from material properties and extrusion process.
Layers - layer height, can be up to half of your nozzel diameter, determines most-directly the time taken to complete your print.
Infill - given as a '%', influences the time taken to print and the strength of the final part. You can define the pattern of infill to be generated also.
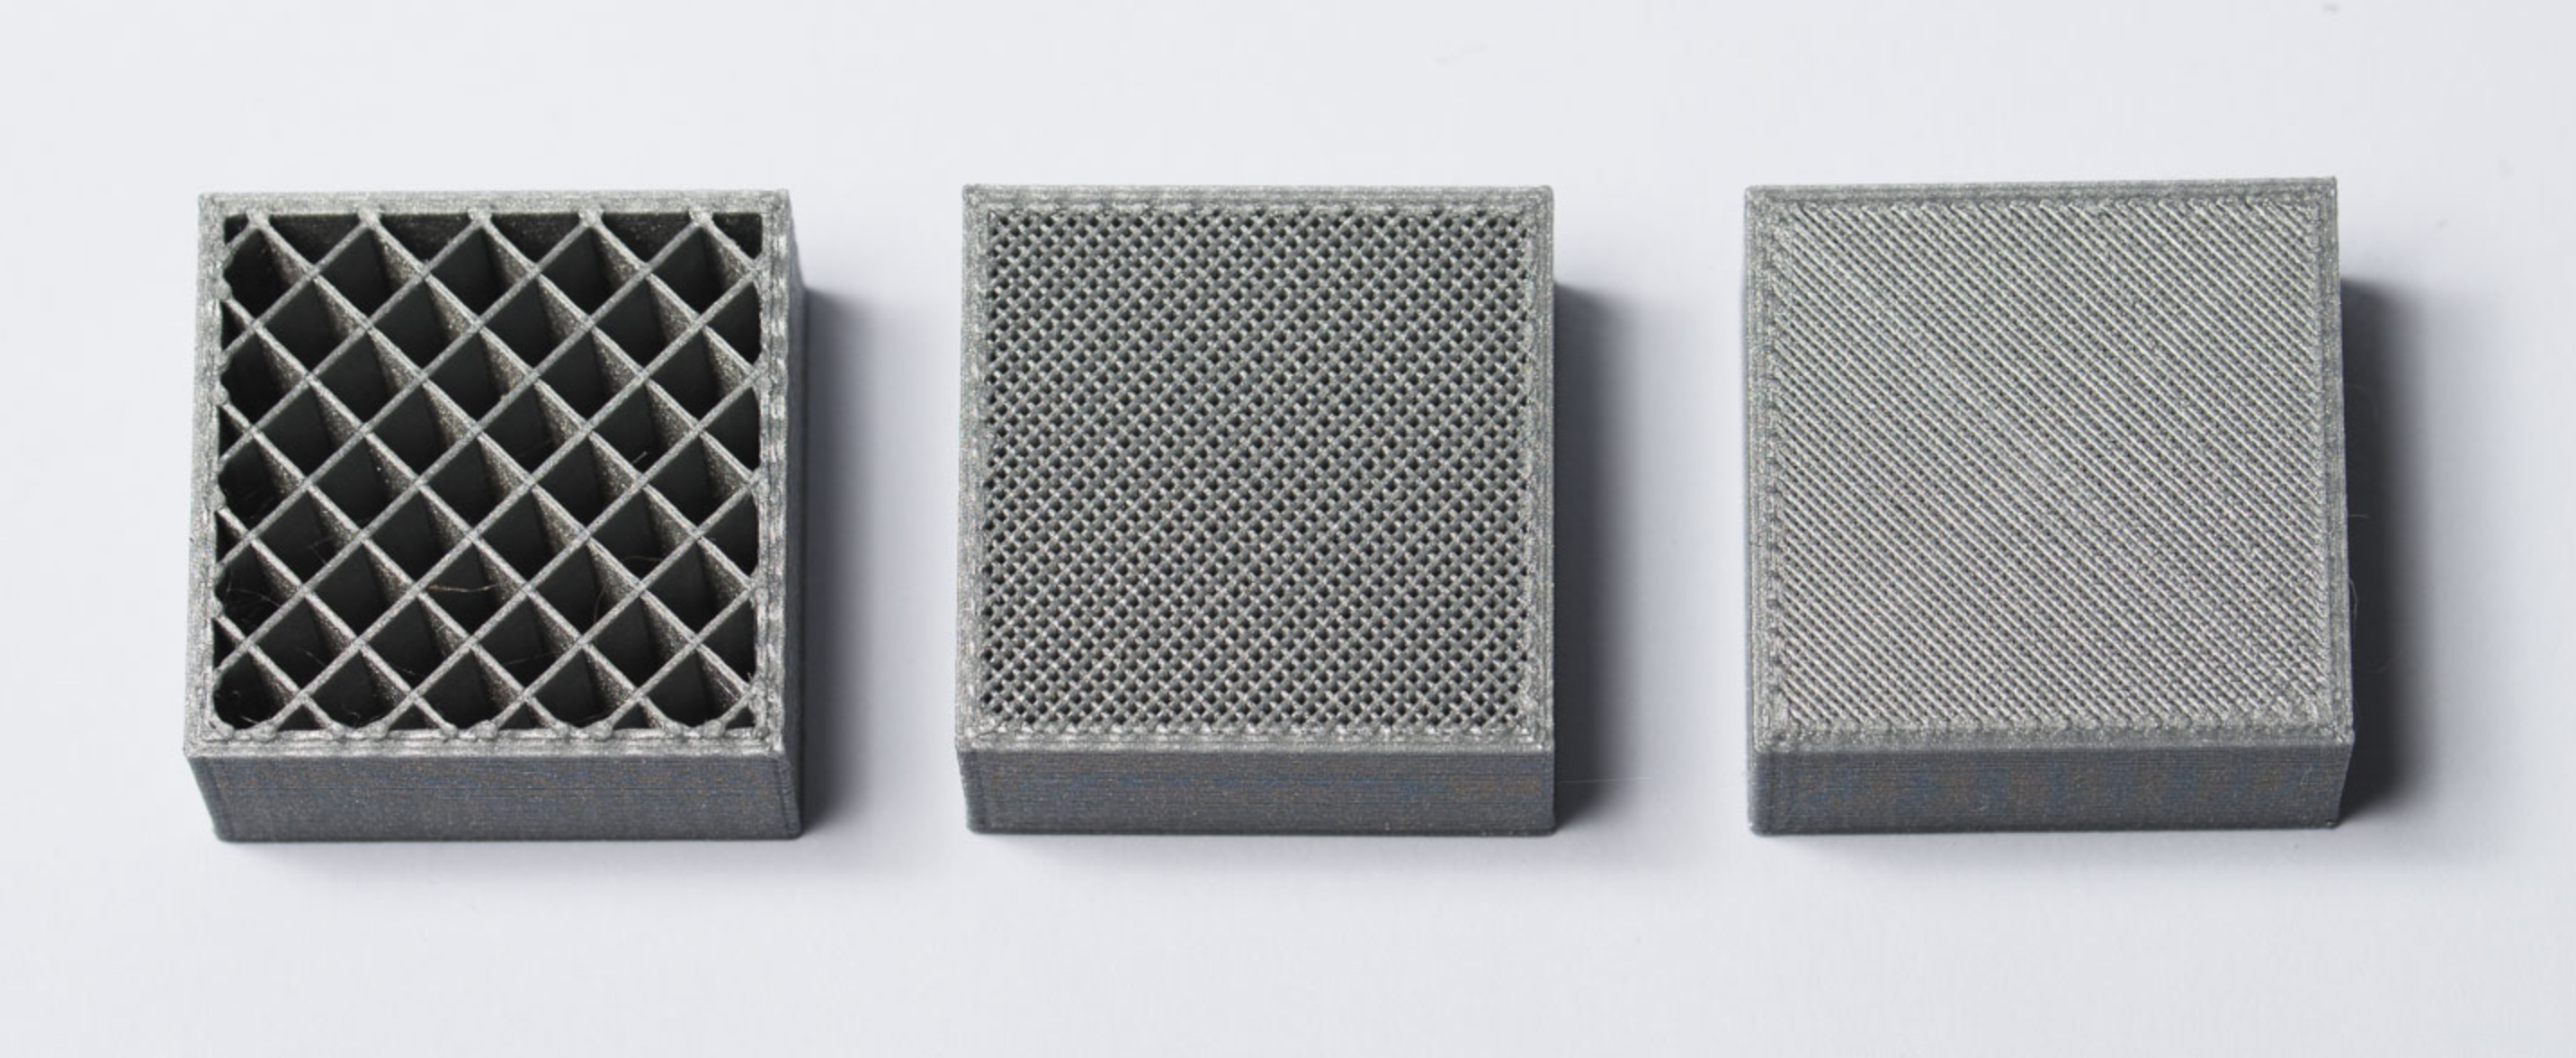
Also, Wall Thickness, Speed/Accel settings, temperatures for bed and nozzle, supports to be generated and lots, lots, lots more.
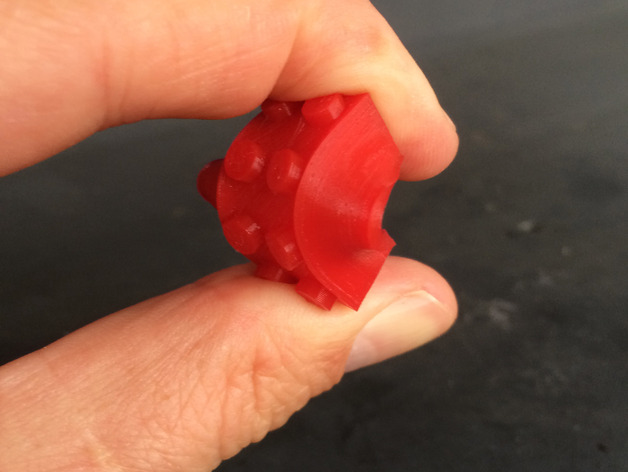
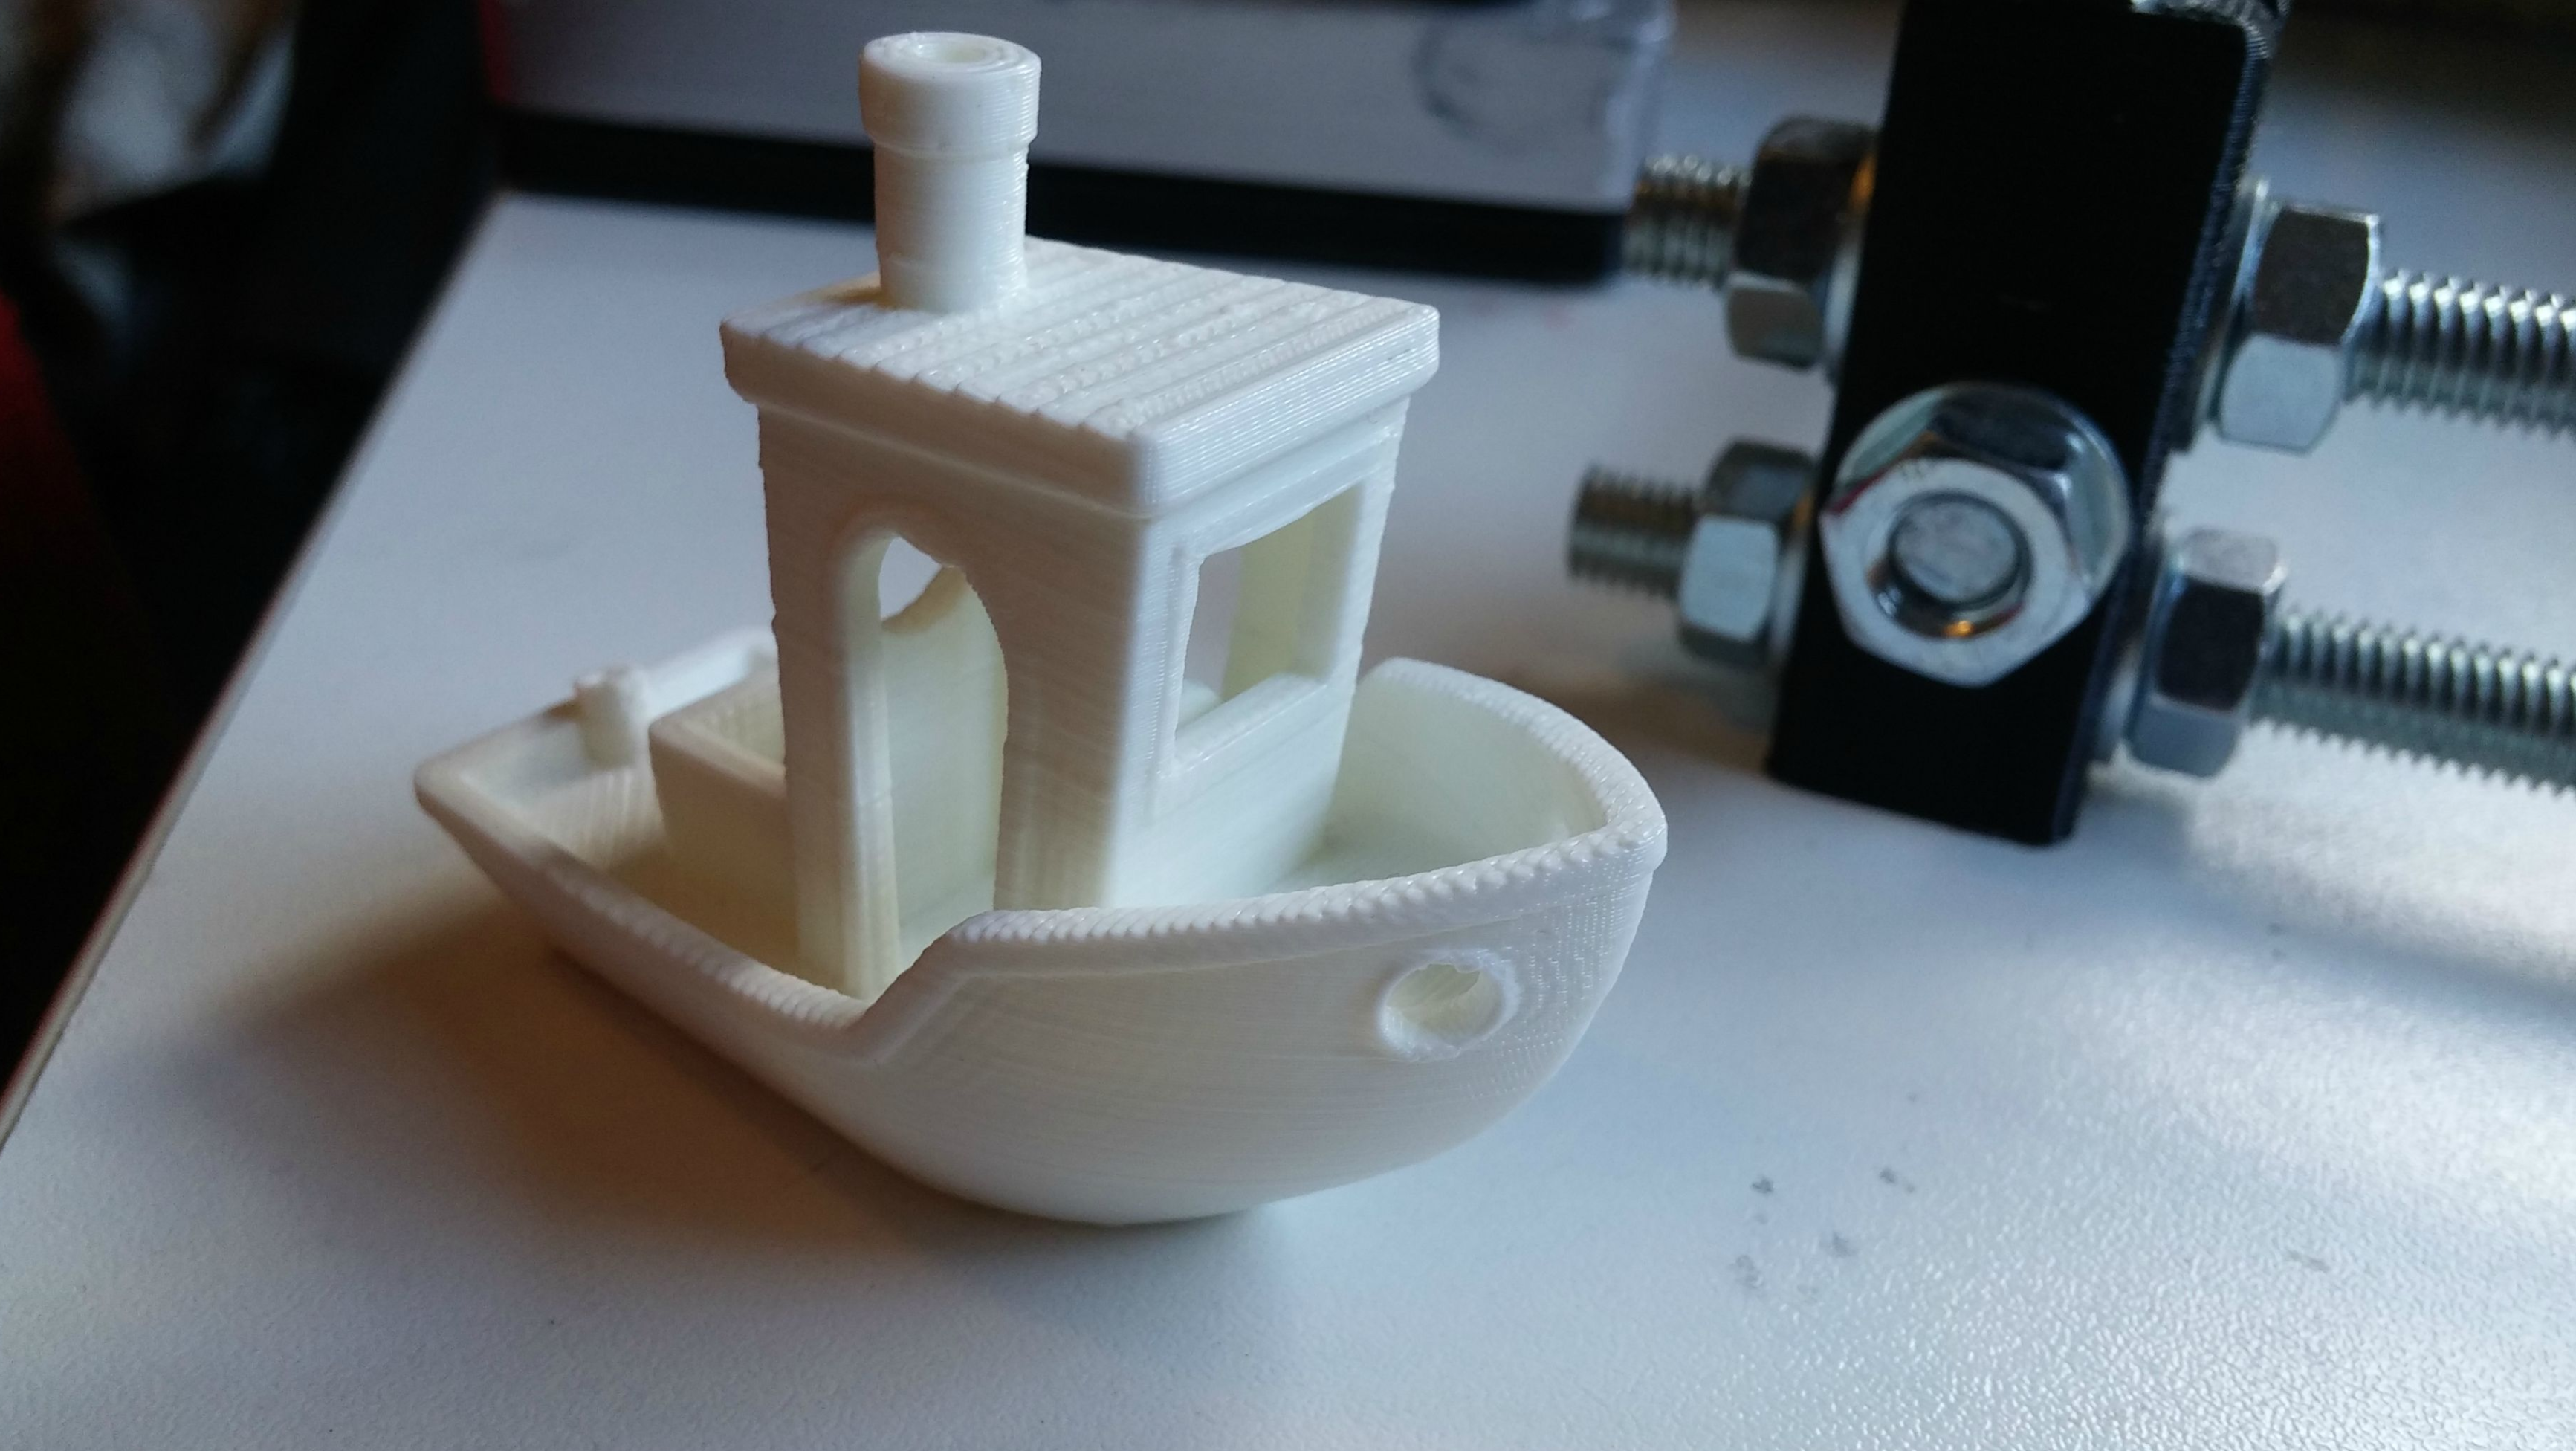
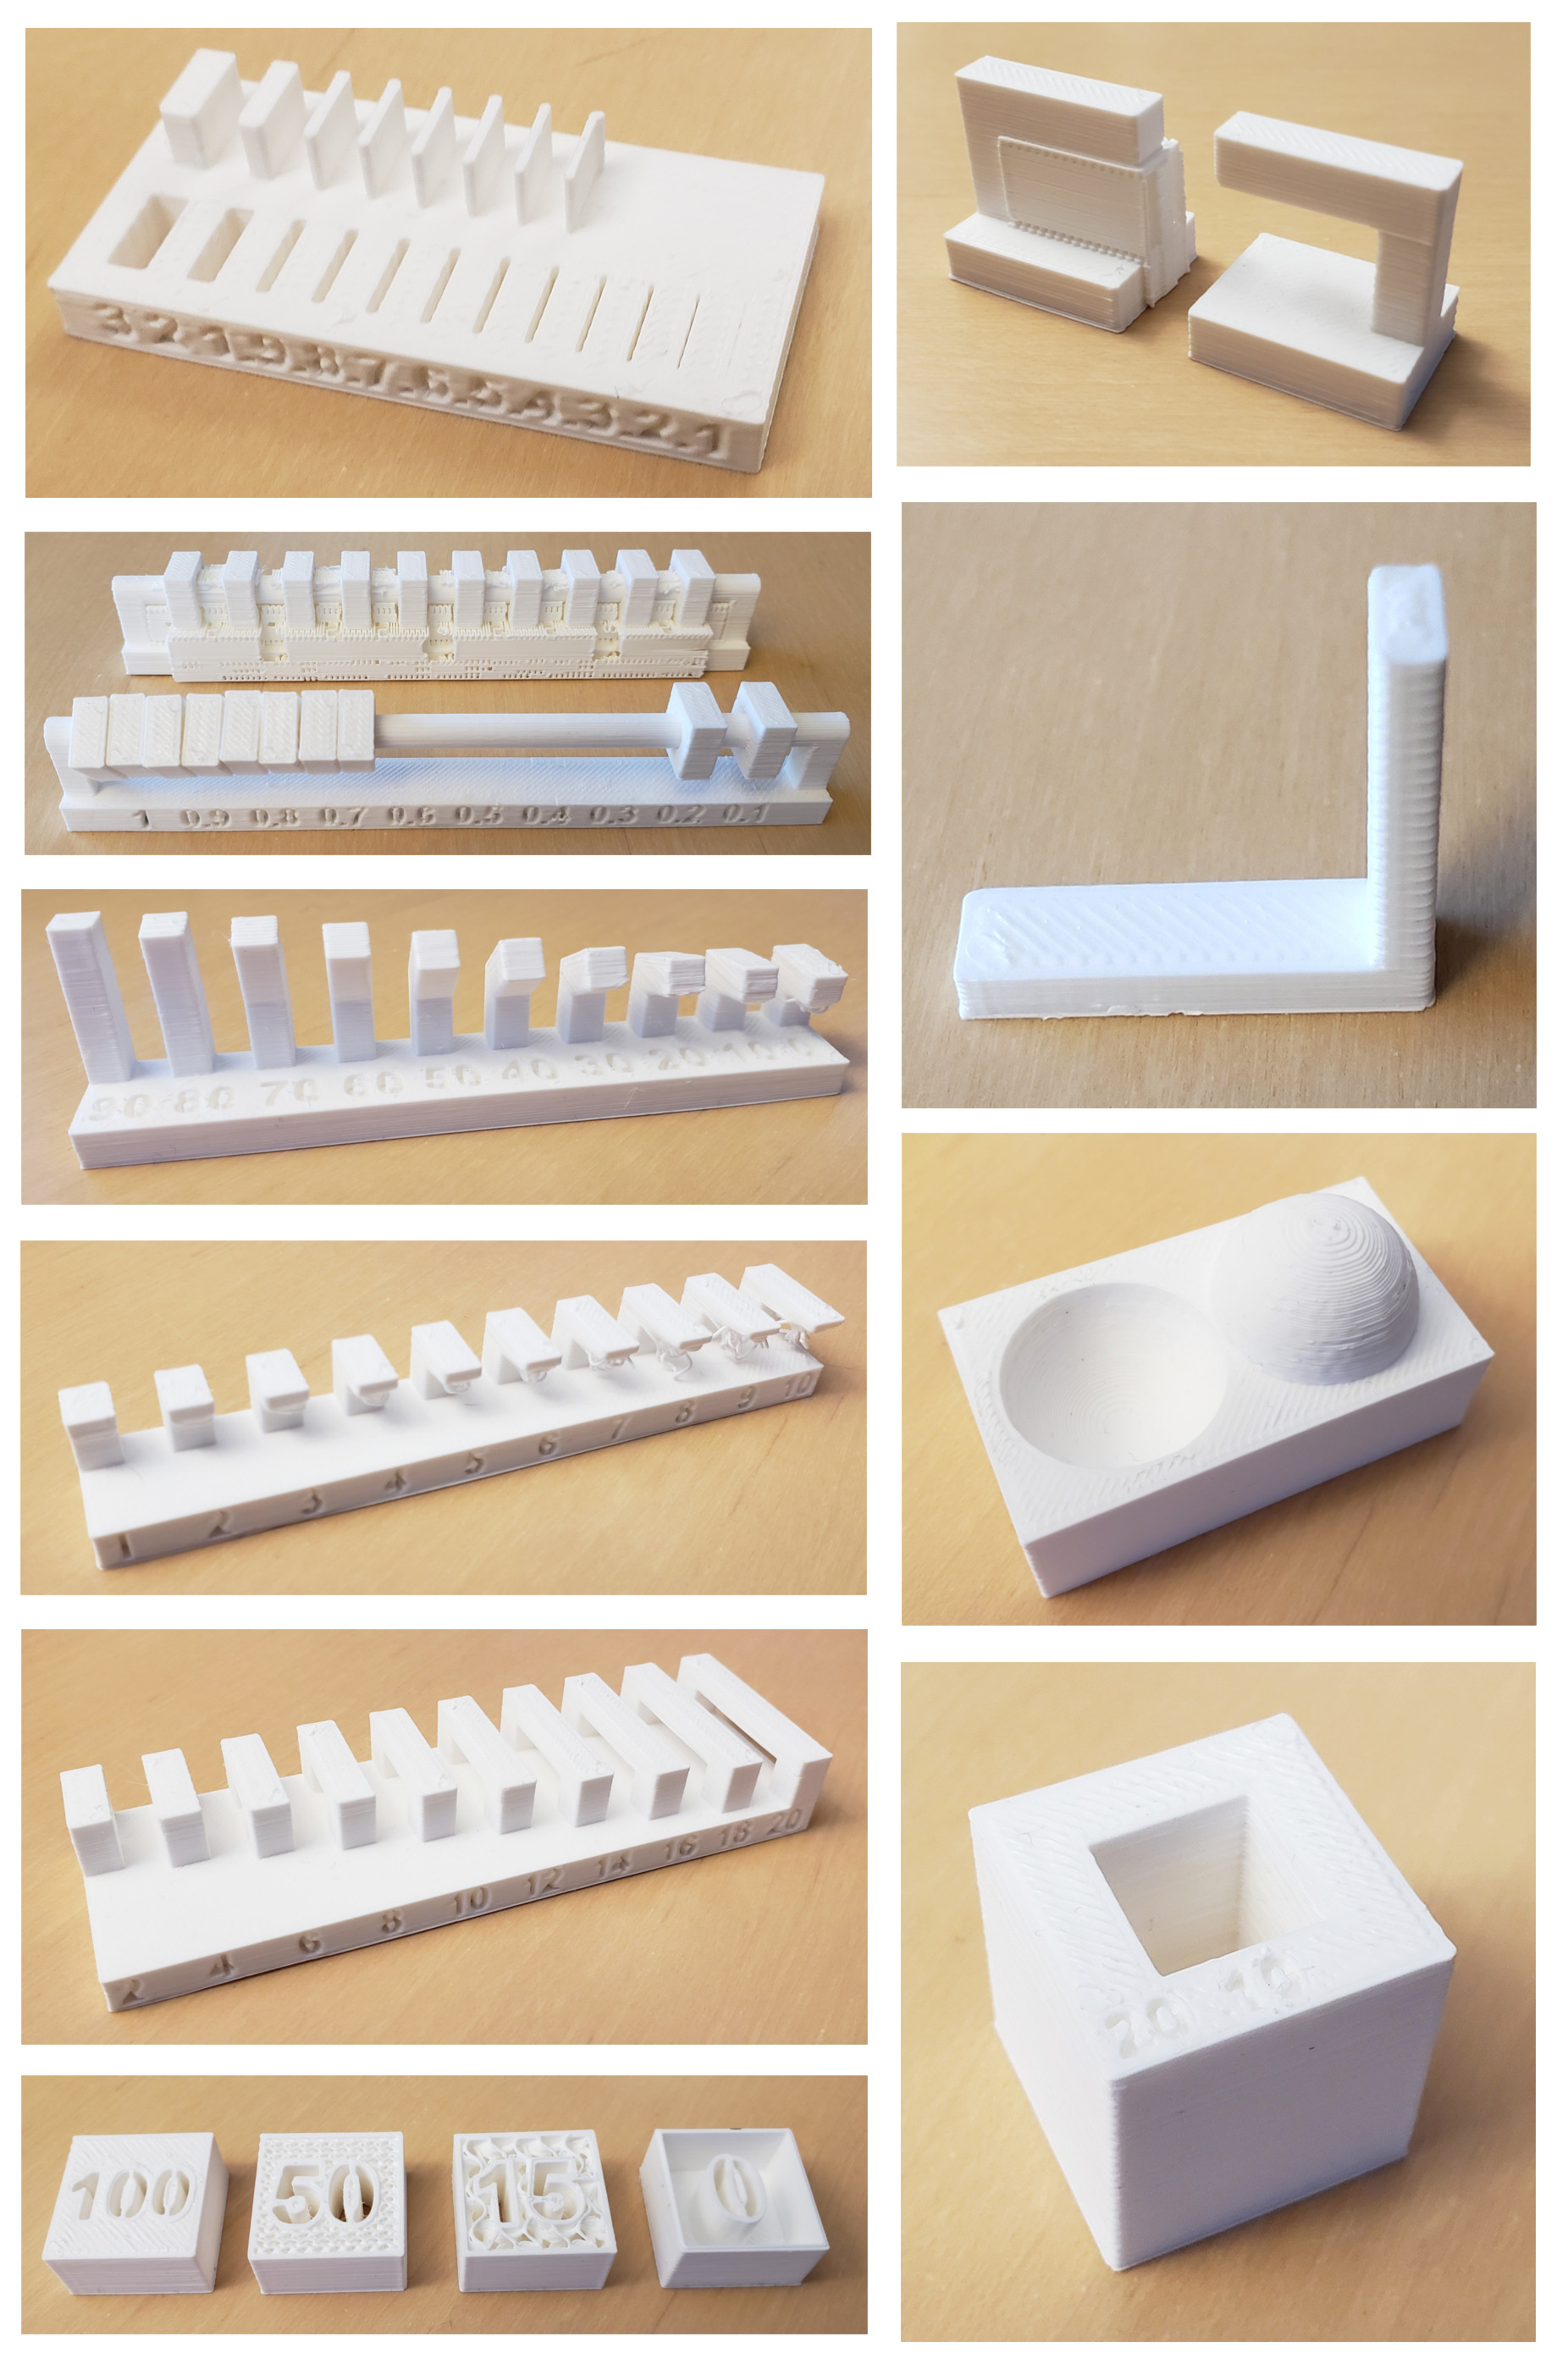
Testing and Calibration,
Test your printer with a Benchy (Benchmark Test), an XYZ cube or a Torture Test to see how well it is tuned.
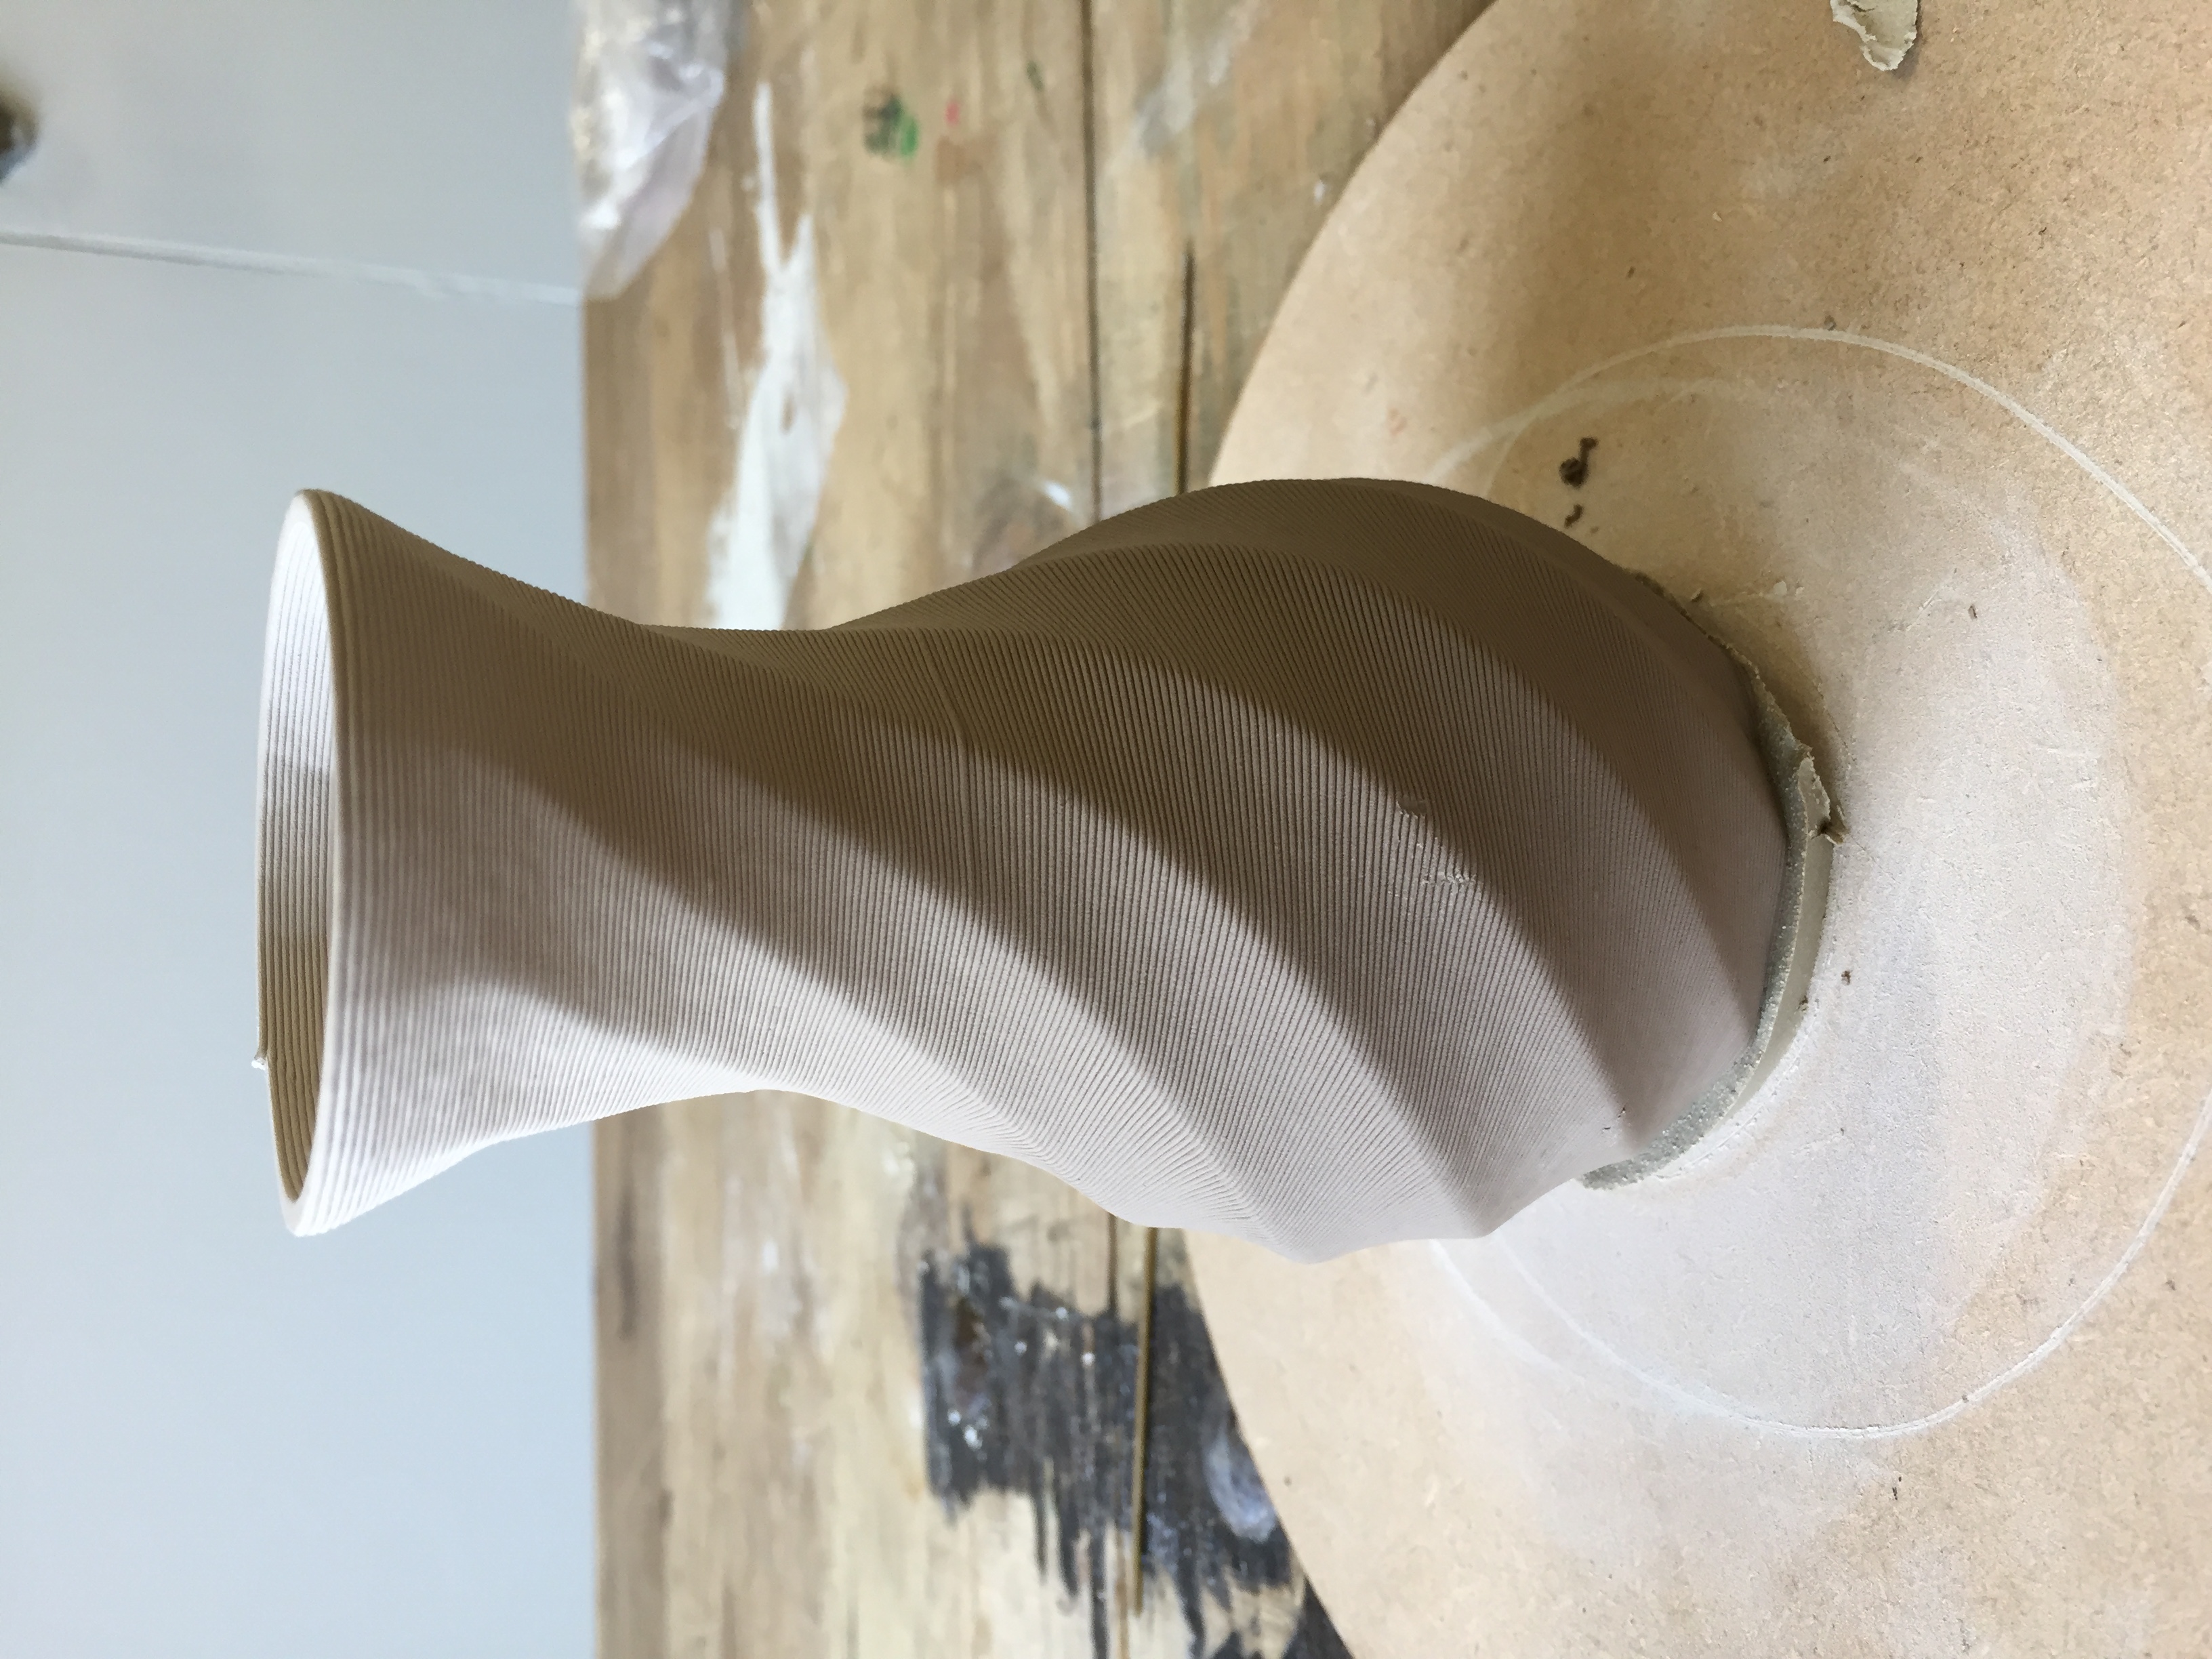
Clay
Starting in 2017, supported by Creative Europe, we invited digital artist, maker, potter and sculptor Jonathan Keep (UK) to hold a workshop on Clay 3D Printing and to introduce it to people in Limerick.
Extruder and LDM Kit:
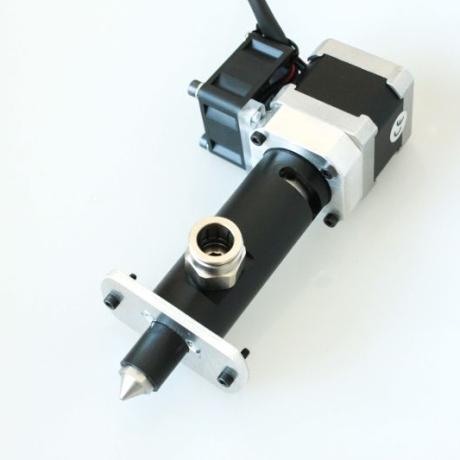
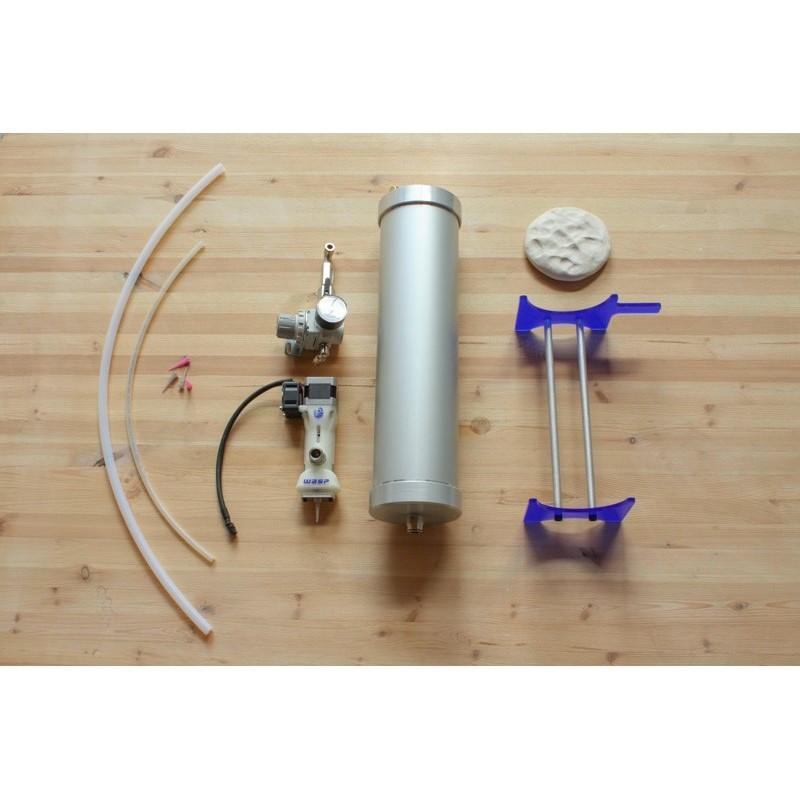
The research work of WASP:
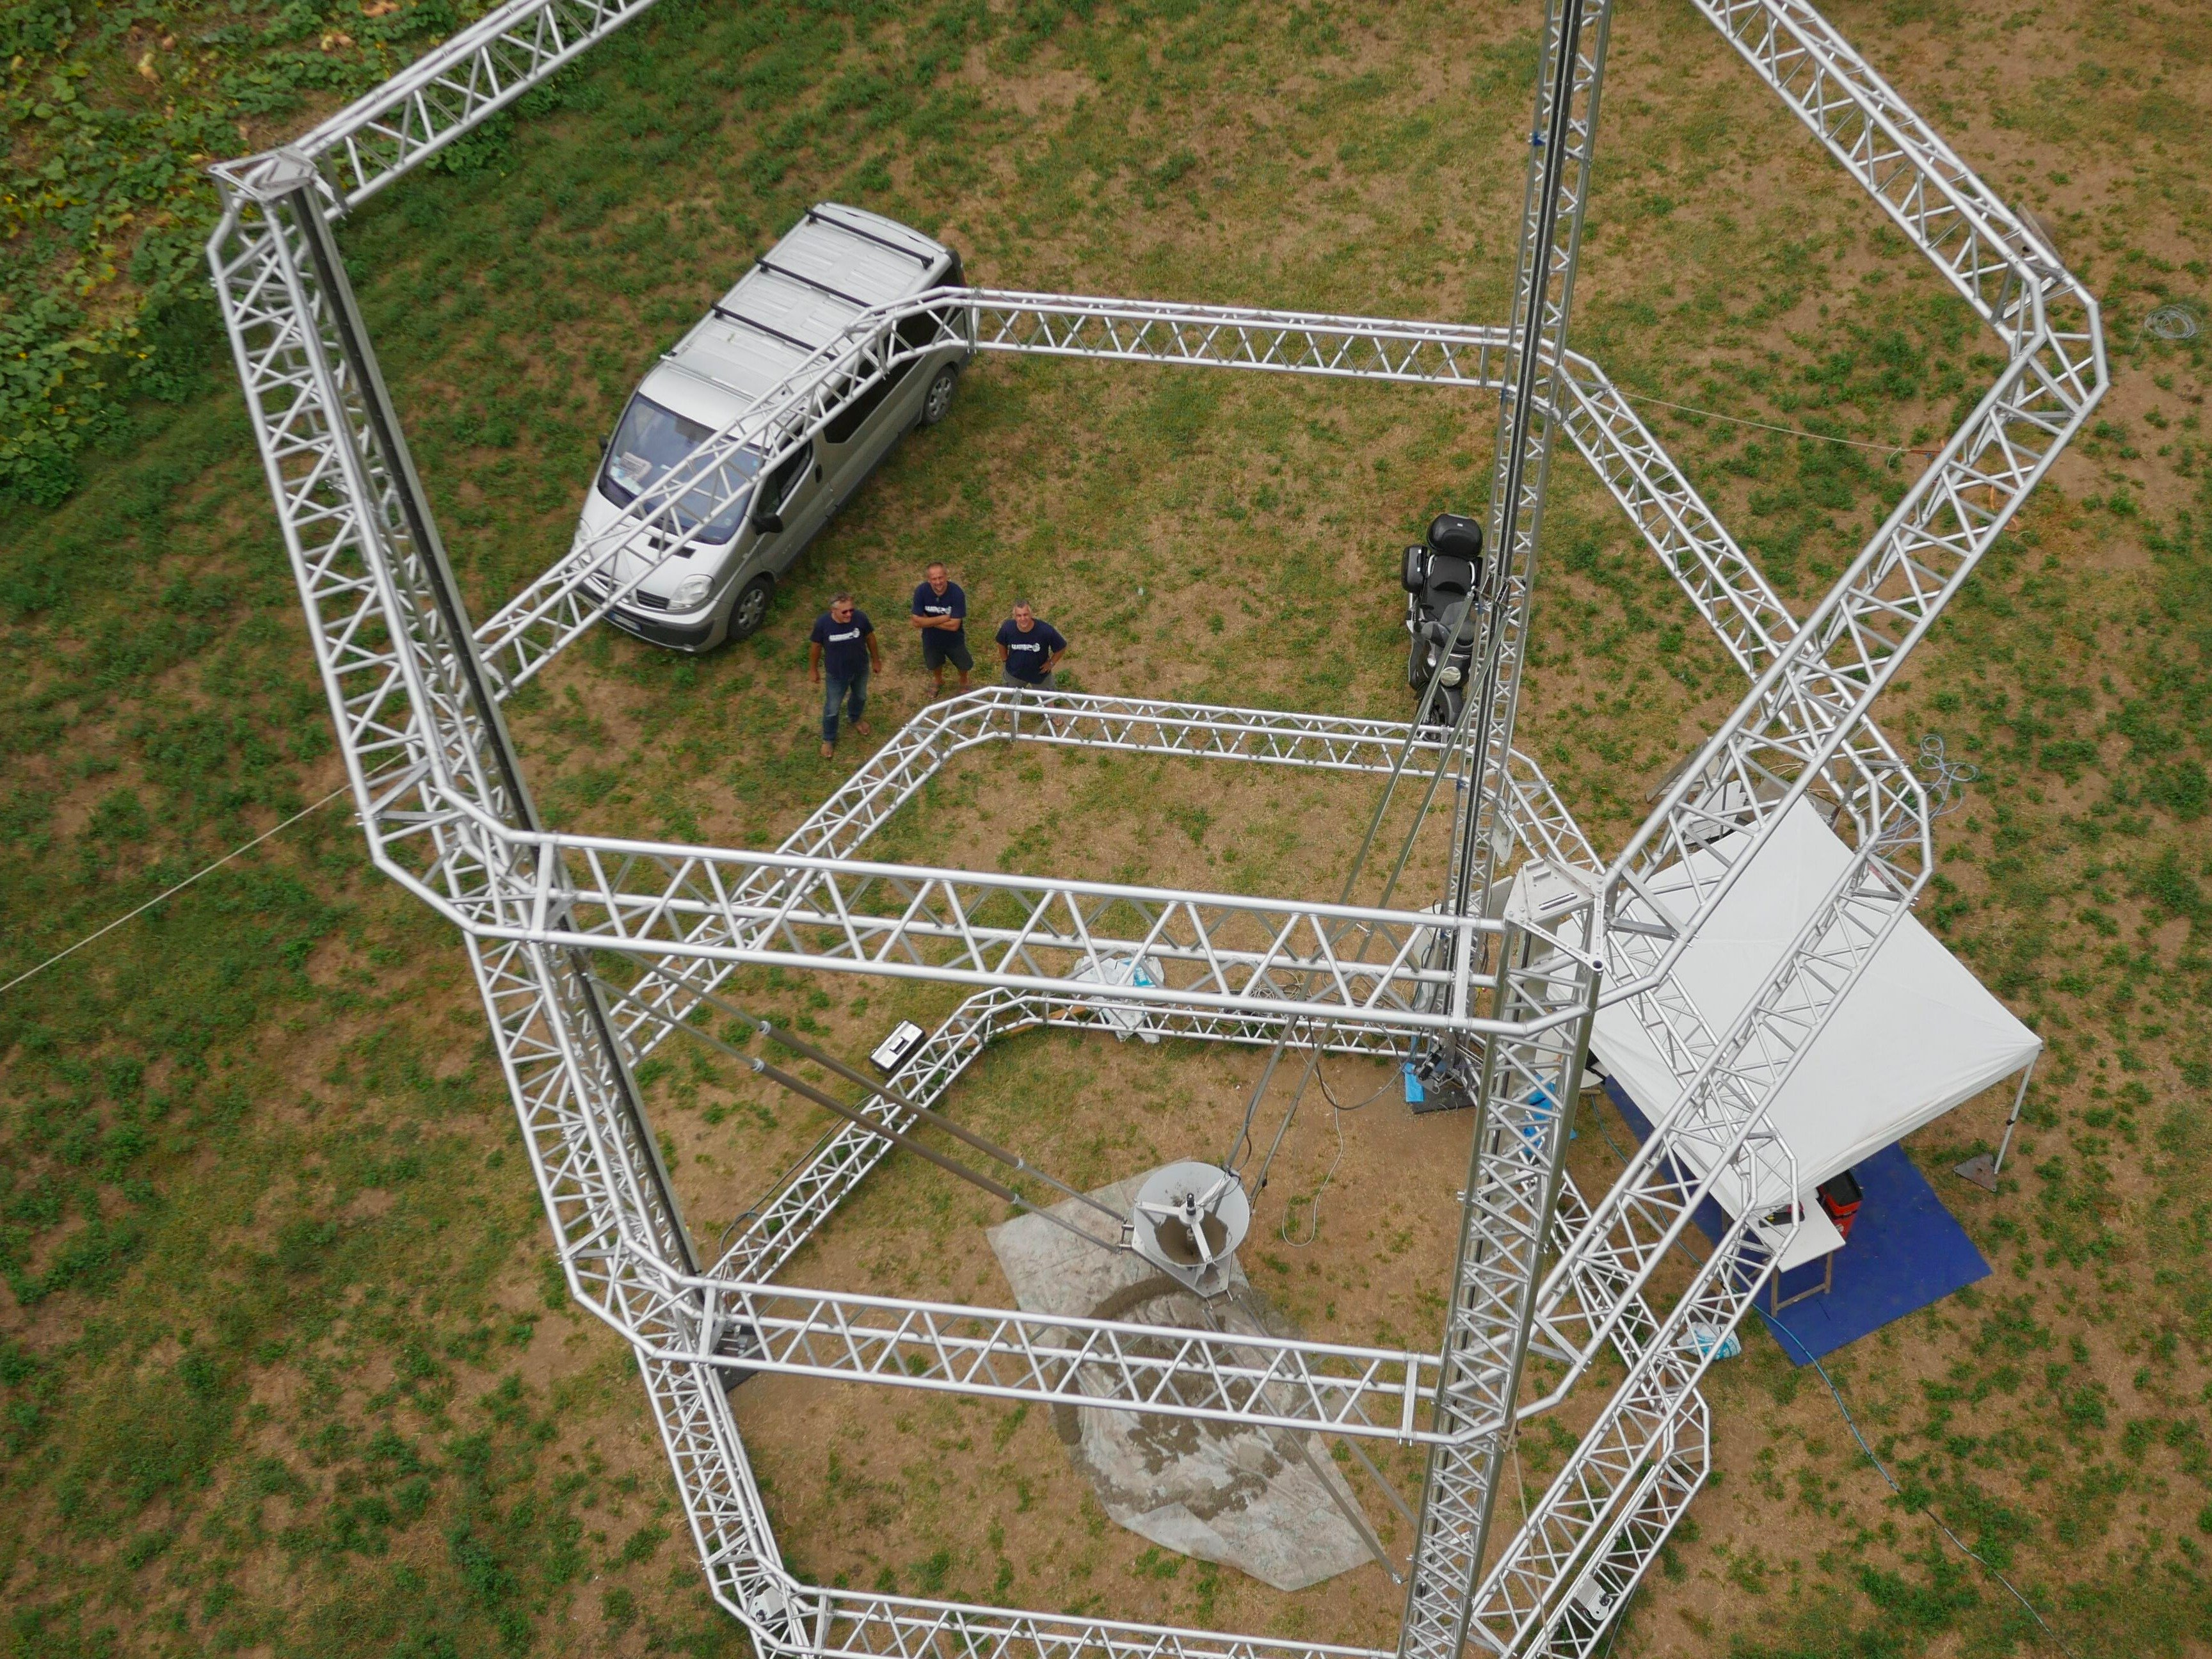
Concrete (3DCP)
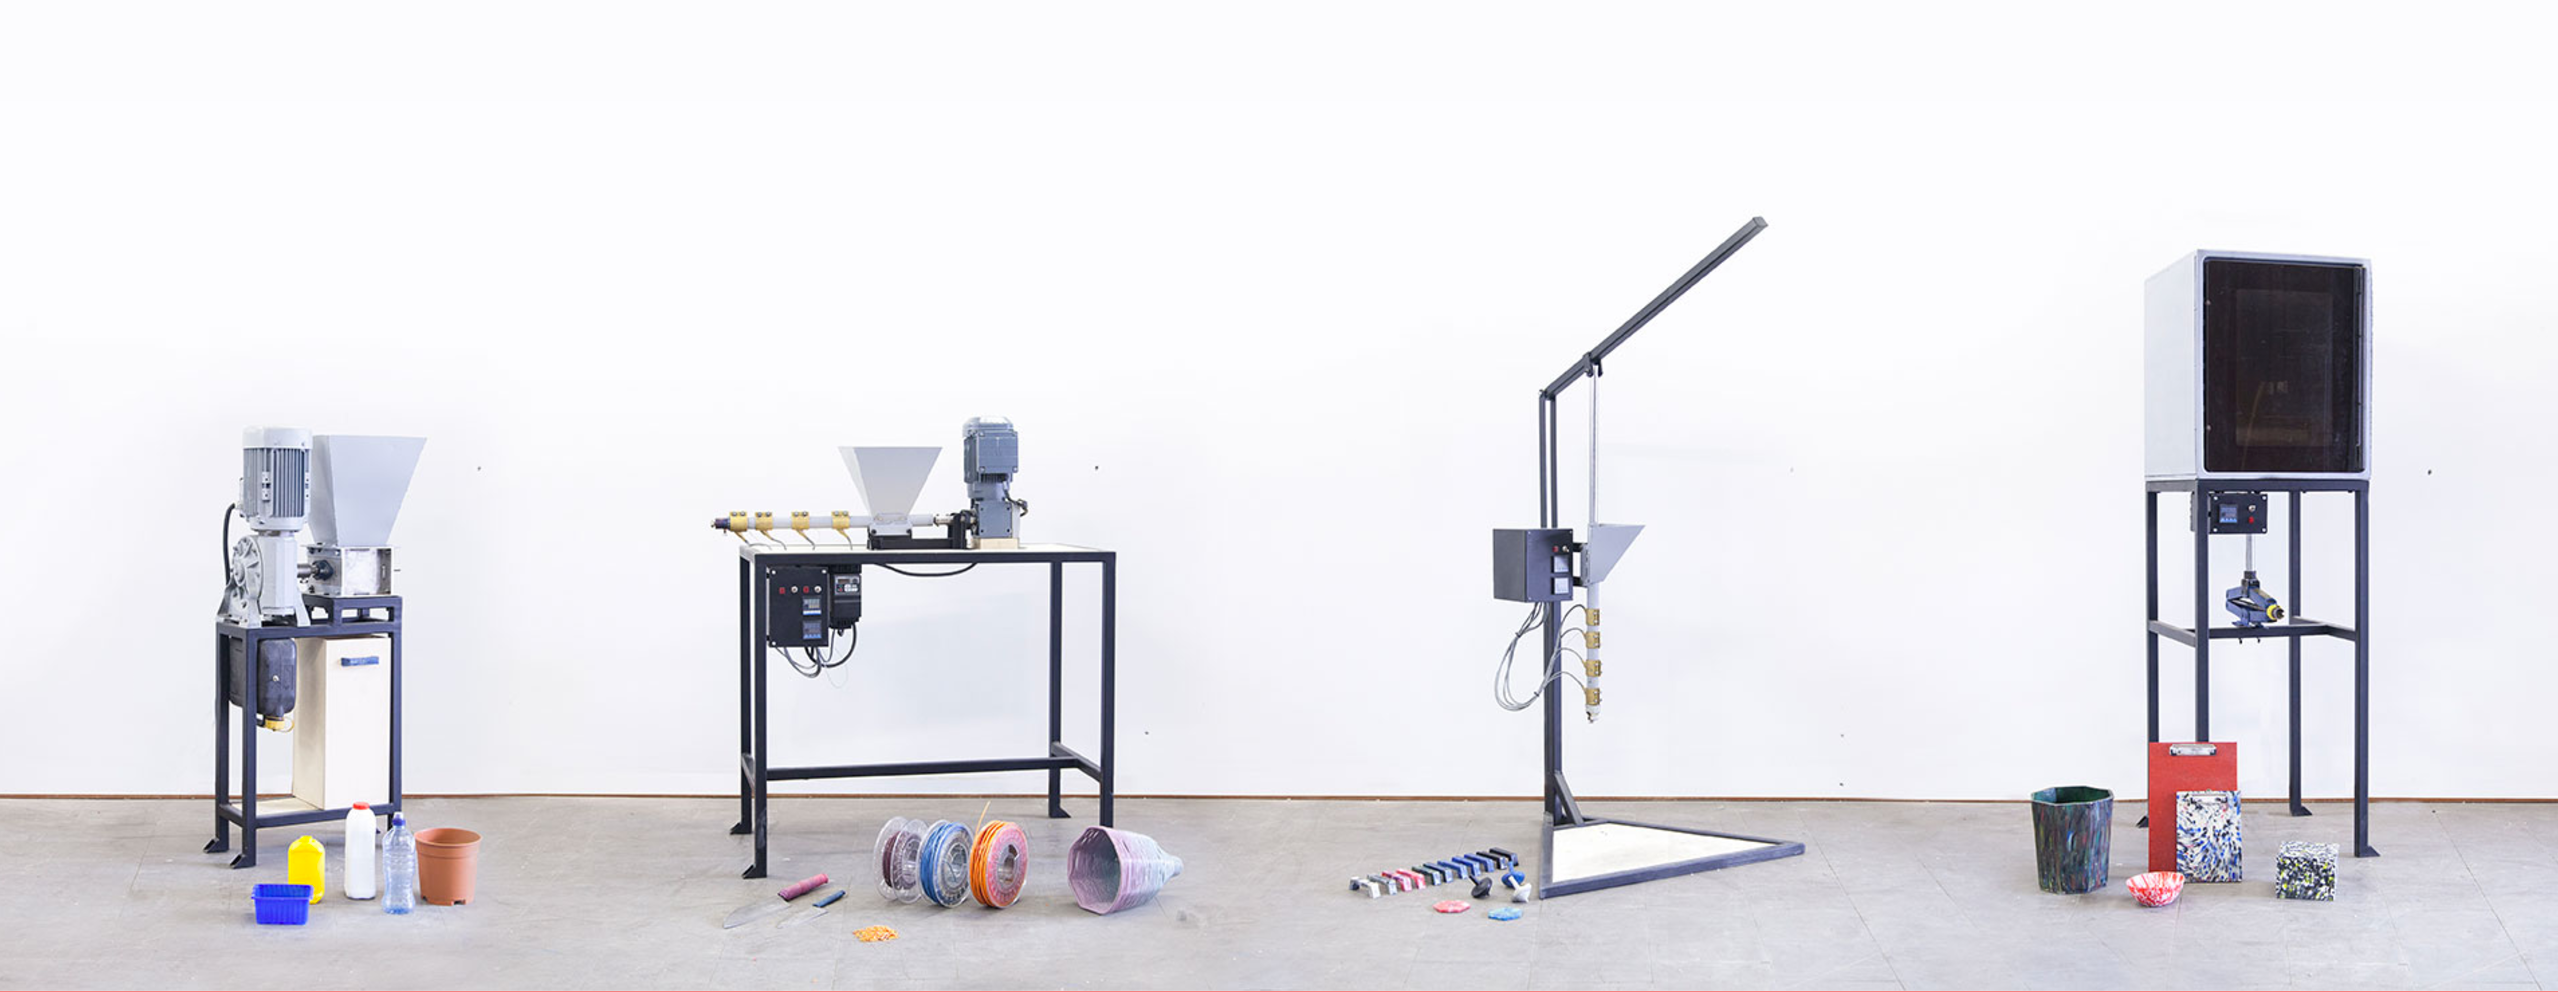
Recycling (Precious Plastic, etc.)
Precious Plastic is a company, community and world-wide movement to try and make available the tools of plastic recycling. They have published a variety of machines for shredding, extruding, pressing and moulding plastics.
 -->
-->