Introduction to the Shaper Origin
v0.1 by Ger Walsh - September 2026
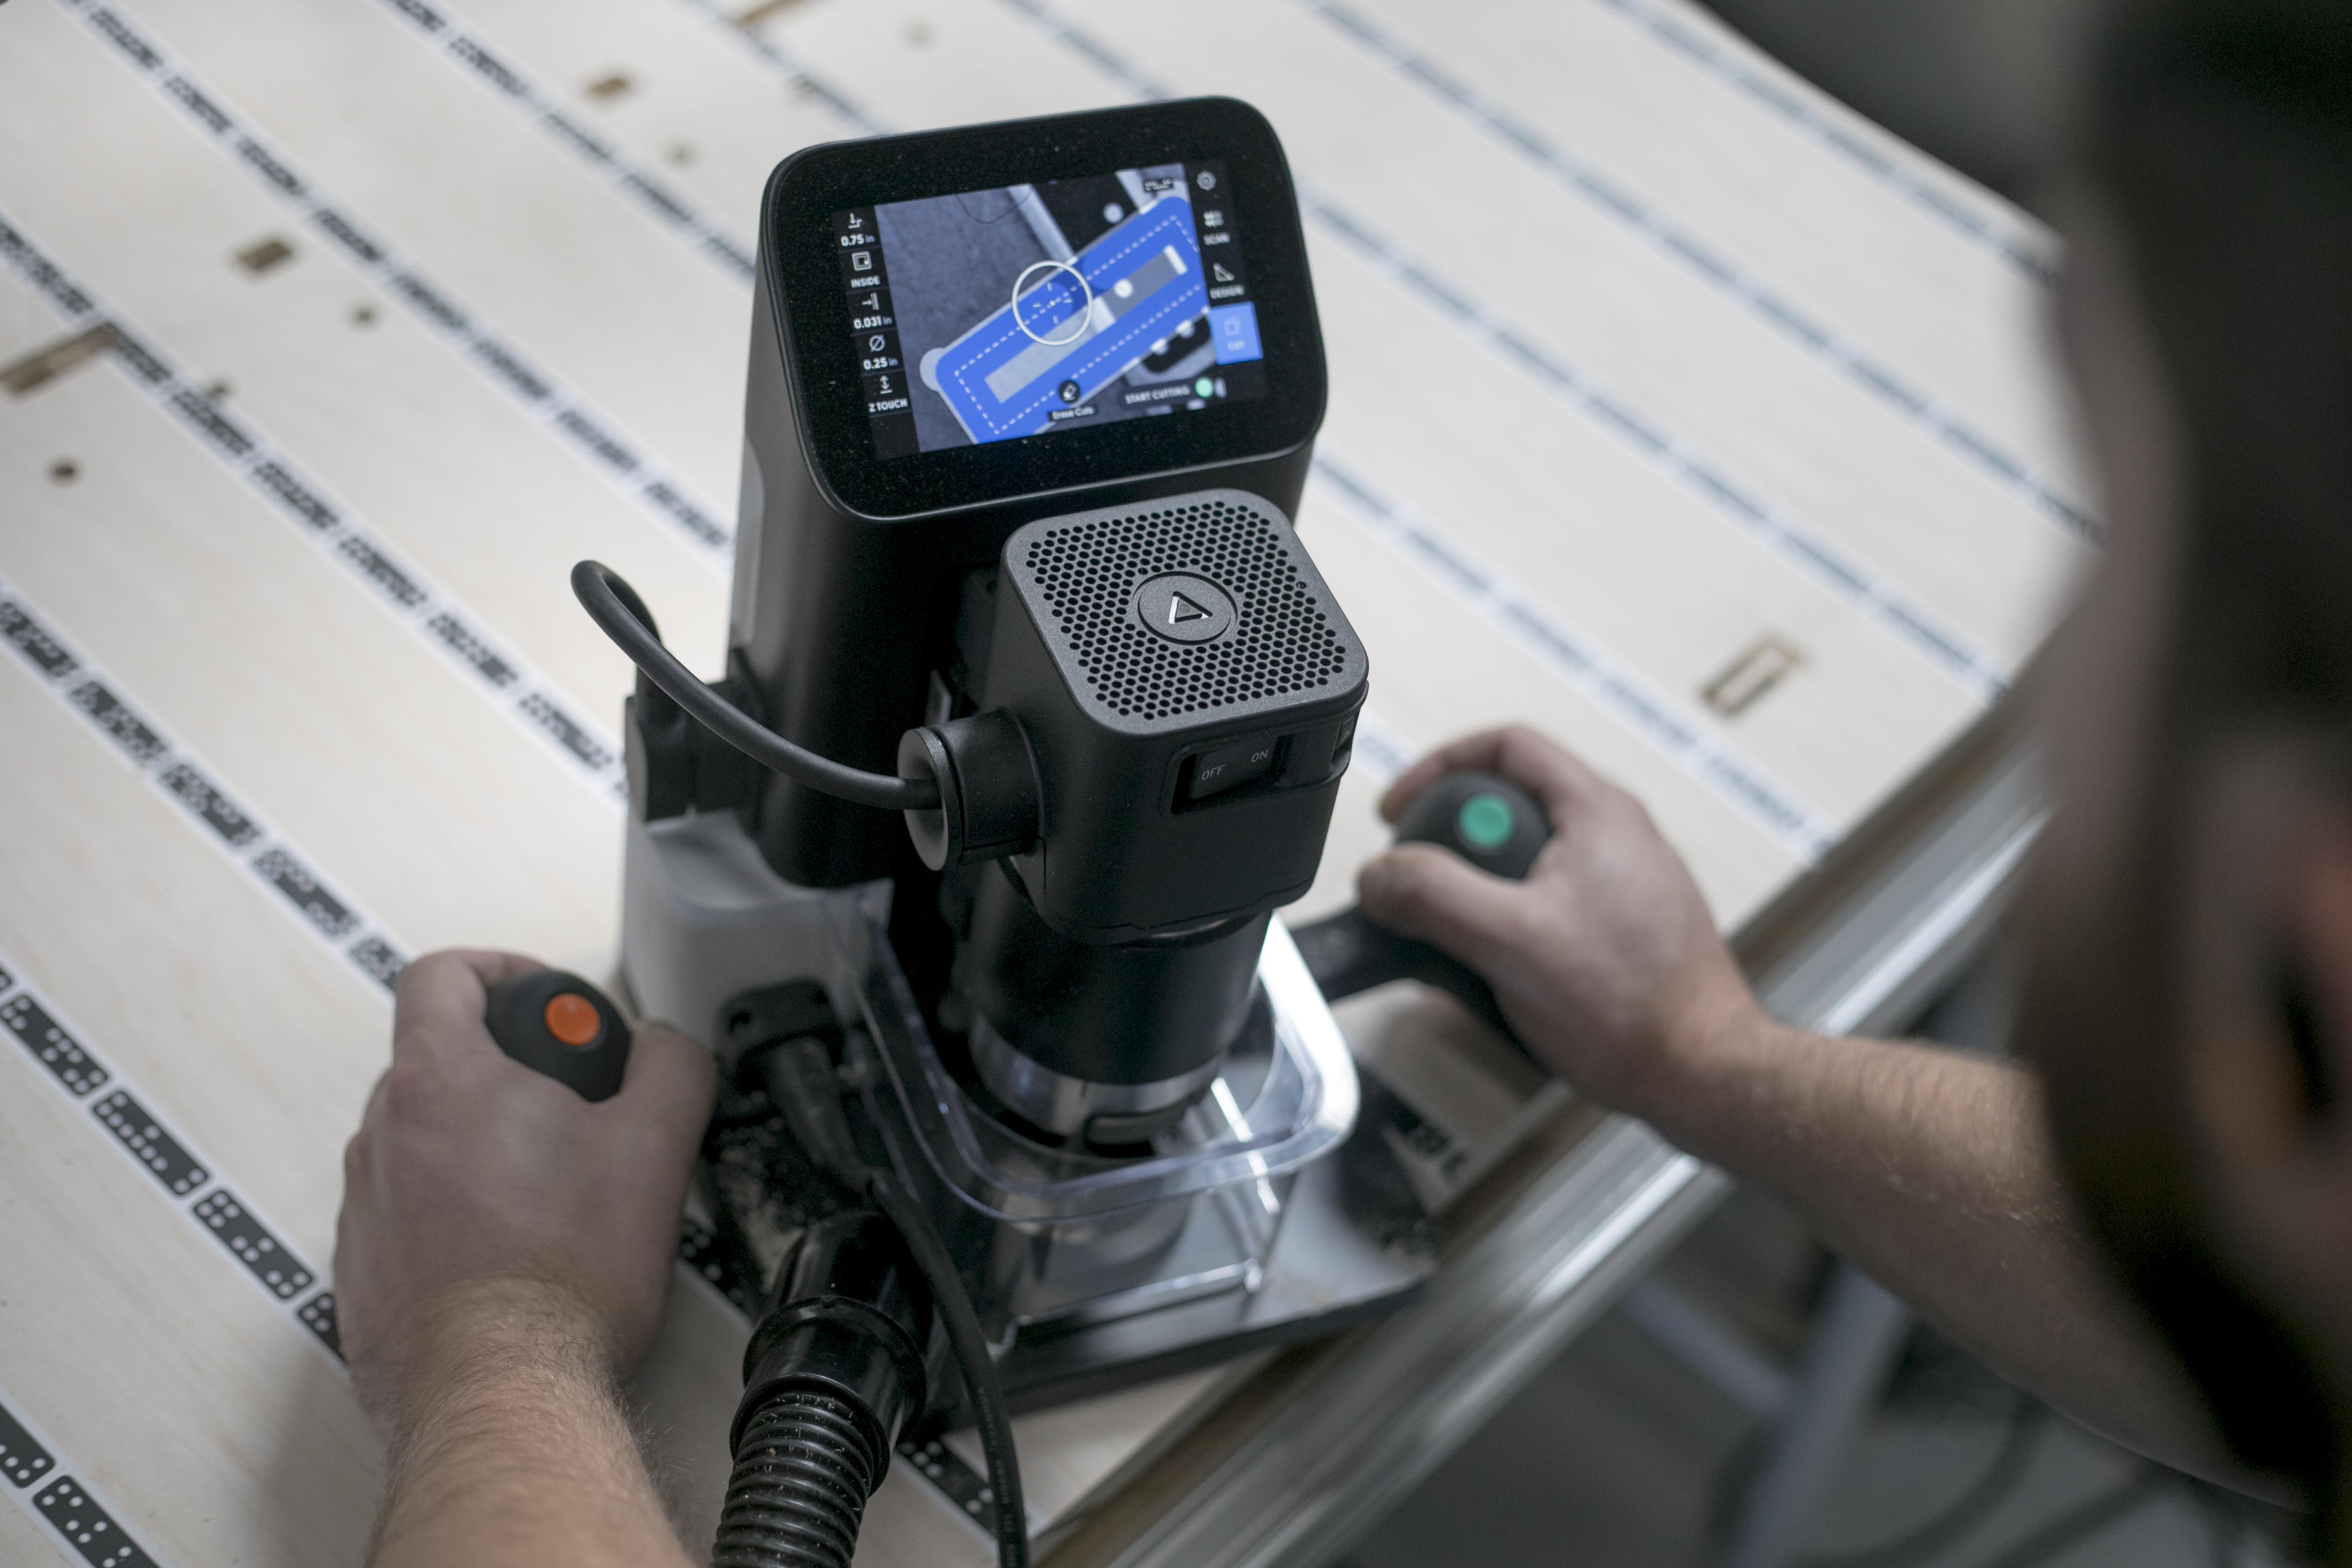
About the machine
The Shaper Origin is a hand-held CNC machine that has been in development since 2011. When you cut, the machine will correct the tool according to your designs. It uses a camera to track its position relative to domino markers (on tape, the Shaper workbench, or other accessories.). You scan your work area from within the machine's app, and then you can position drawings in that space. There is an inbuilt workflow to assign tools and other features on the machine itself. There is a USB-C port on the machine, and you can cut .DXF or .SVG files you place on the memory stick.
- Intro to Origin, Part 1 (April 2025)
- Intro to Origin, Part 2 (April 2025)
Software
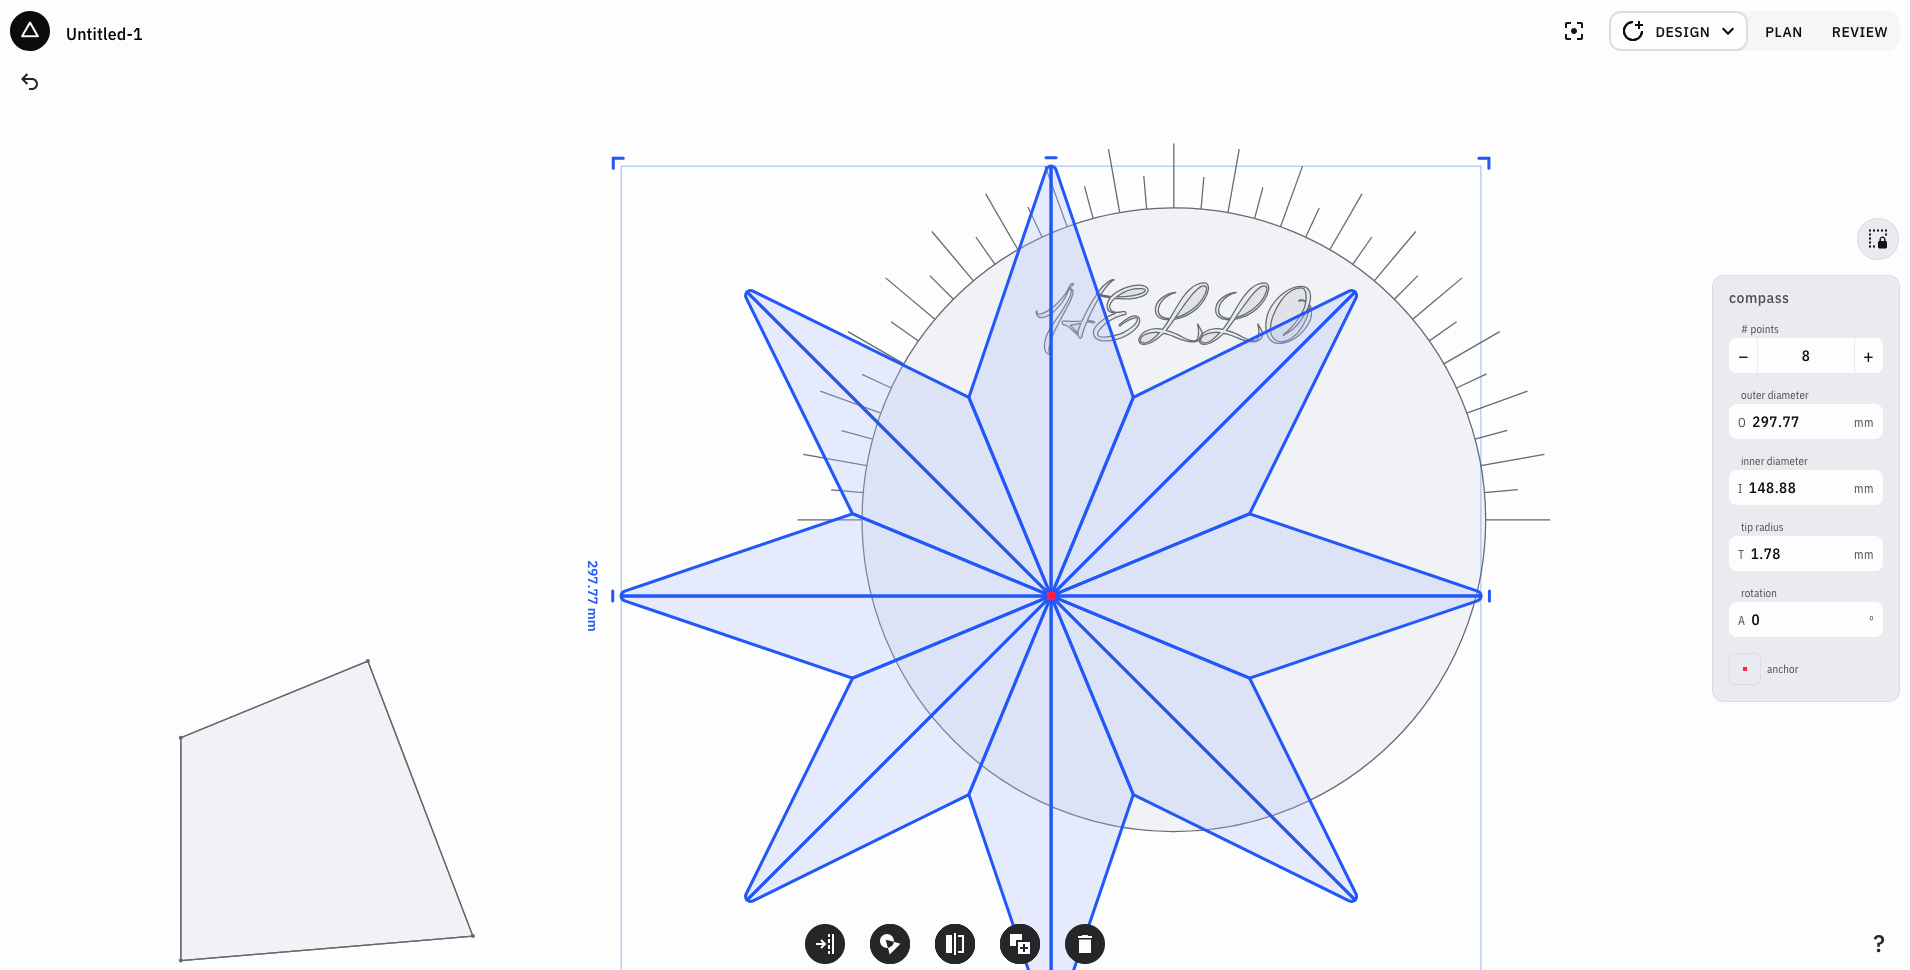
Shaper Studio is a CAD design software to work with Shaper tools. Studio is a simplified CAD experience aimed at beginners and craftspeople who may not have used CAD software before.
Shaper Studio is a paid in-browser software. Paid licenses are €6/mo or a €350 one-off payment. There is a free version with limited exports.
Main Steps
- Design (Select from Top-Right)
- Plan
- Review
- Export (Bring up the Main Menu sidebar, and click
Export)
Drawing
- Draw (Polyline tool). Select after drawing to edit node(s) and lines. Does not seem to do curves...
- Make Shapes or Find. Some options are
templates, you can use eg. Dovetails or Bowtie tool to make common components with specific configurations - Text
- ShapeShifter is similar to Shape-Builder tools in Inkscape or Illustrator. You select overlapping shapes, click the Shapeshifter icon on the bottom row, and select which shapes should be trimmed or added together. Choose whether to keep the original shapes, and press
OKwhen done.

Importing/Exporting
| Import Formats | Export |
|---|---|
| .DXF | Send to connected Origin |
| .SVG | .SVG |
- The unpaid version is limited to 3 exports per month.
To Export, click the Main Menu button, and then Export and choose your option.
Preparation
Unbox the Machine
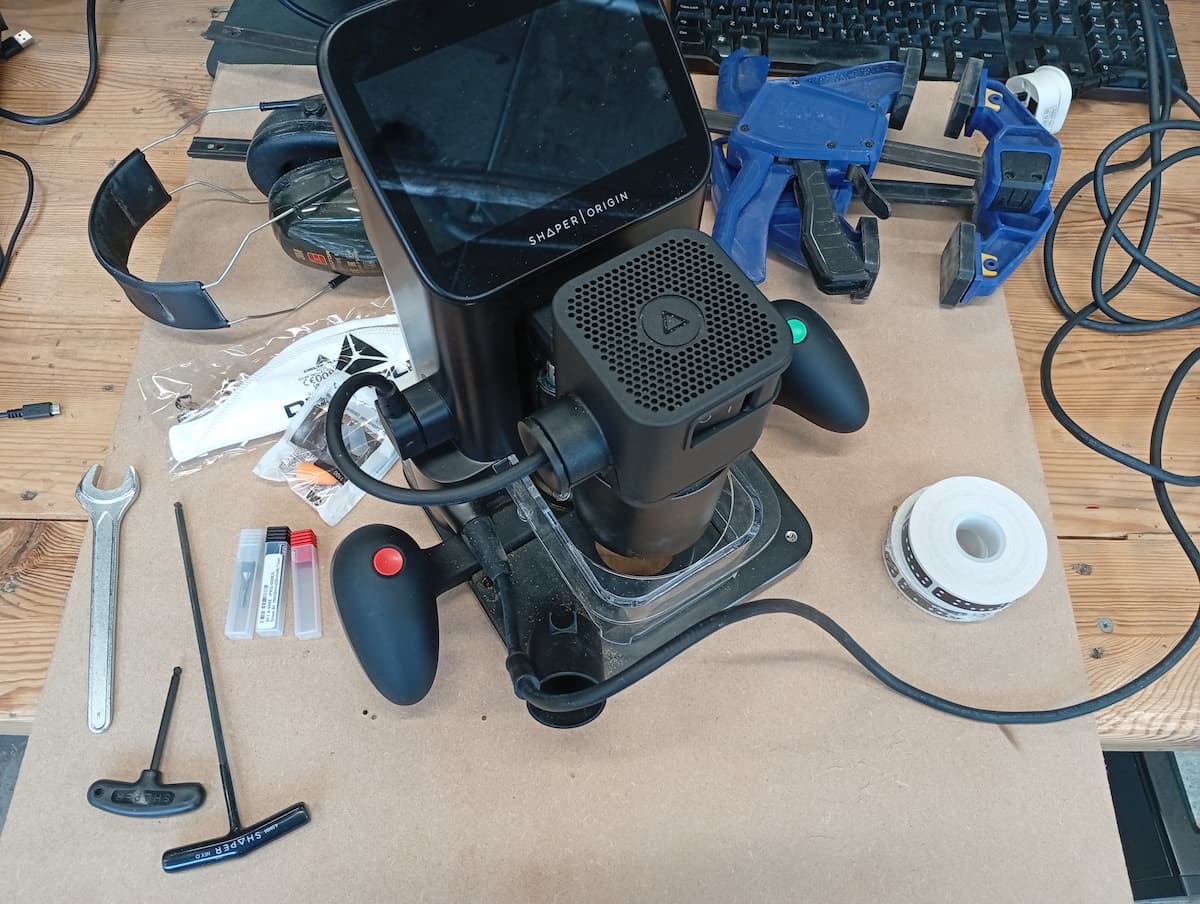
Remember the Vacuum!!! It attaches to the outlet at the back-left. (Operator side).
Plan your workspace and give you room for the machine
Placing Tape
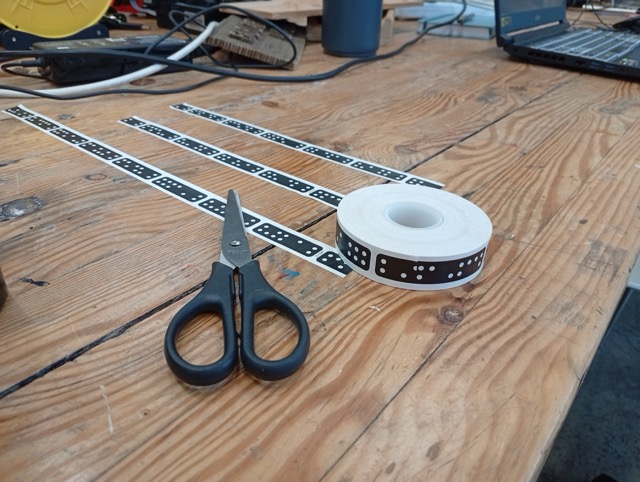
Domino Tape on the cutting surface, about 75mm apart, doesn't have to be parallel. Use >3 strips of tape. Tear to length and apply, rather than unroll and stick (this can result in a stretched, or not-straight line).
The interface is touchscreen, and you have a green and red thumb button to accept and cancel an action.
Scan
Go to New Scan. Scan the area, by moving the machine, and build all the area you can around the tape.
When in scan mode, you can hover off the material to capture more of the workspace. (But not later, when cutting!)
Once finished, go to Design.
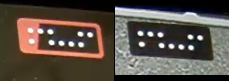
The domino icon, show whether enough tape is visible for the machine to map its own location.
If you add more tape, you can click Add to Scan, or move the machine closer to the scan area and ensure it is all on the same plane.
You can then pinch zoom, or use the slider at the side.
The crosshairs shows the position of the machine! To move, you have to move the machine!
Import or Create
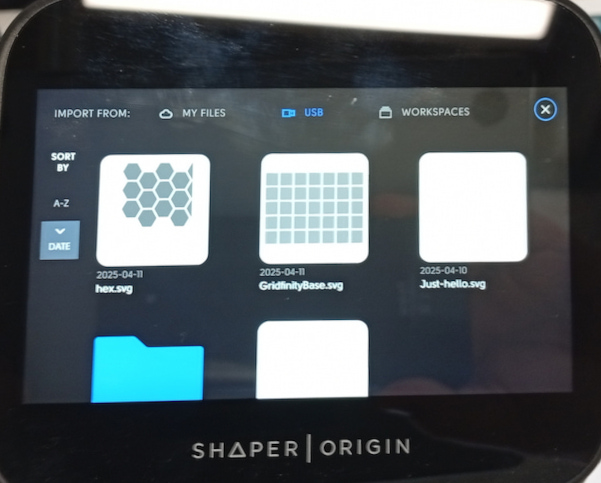
There is a USB-C port on the right-hand-side. Go to Import, select any .DXF or .SVG files and then place them.
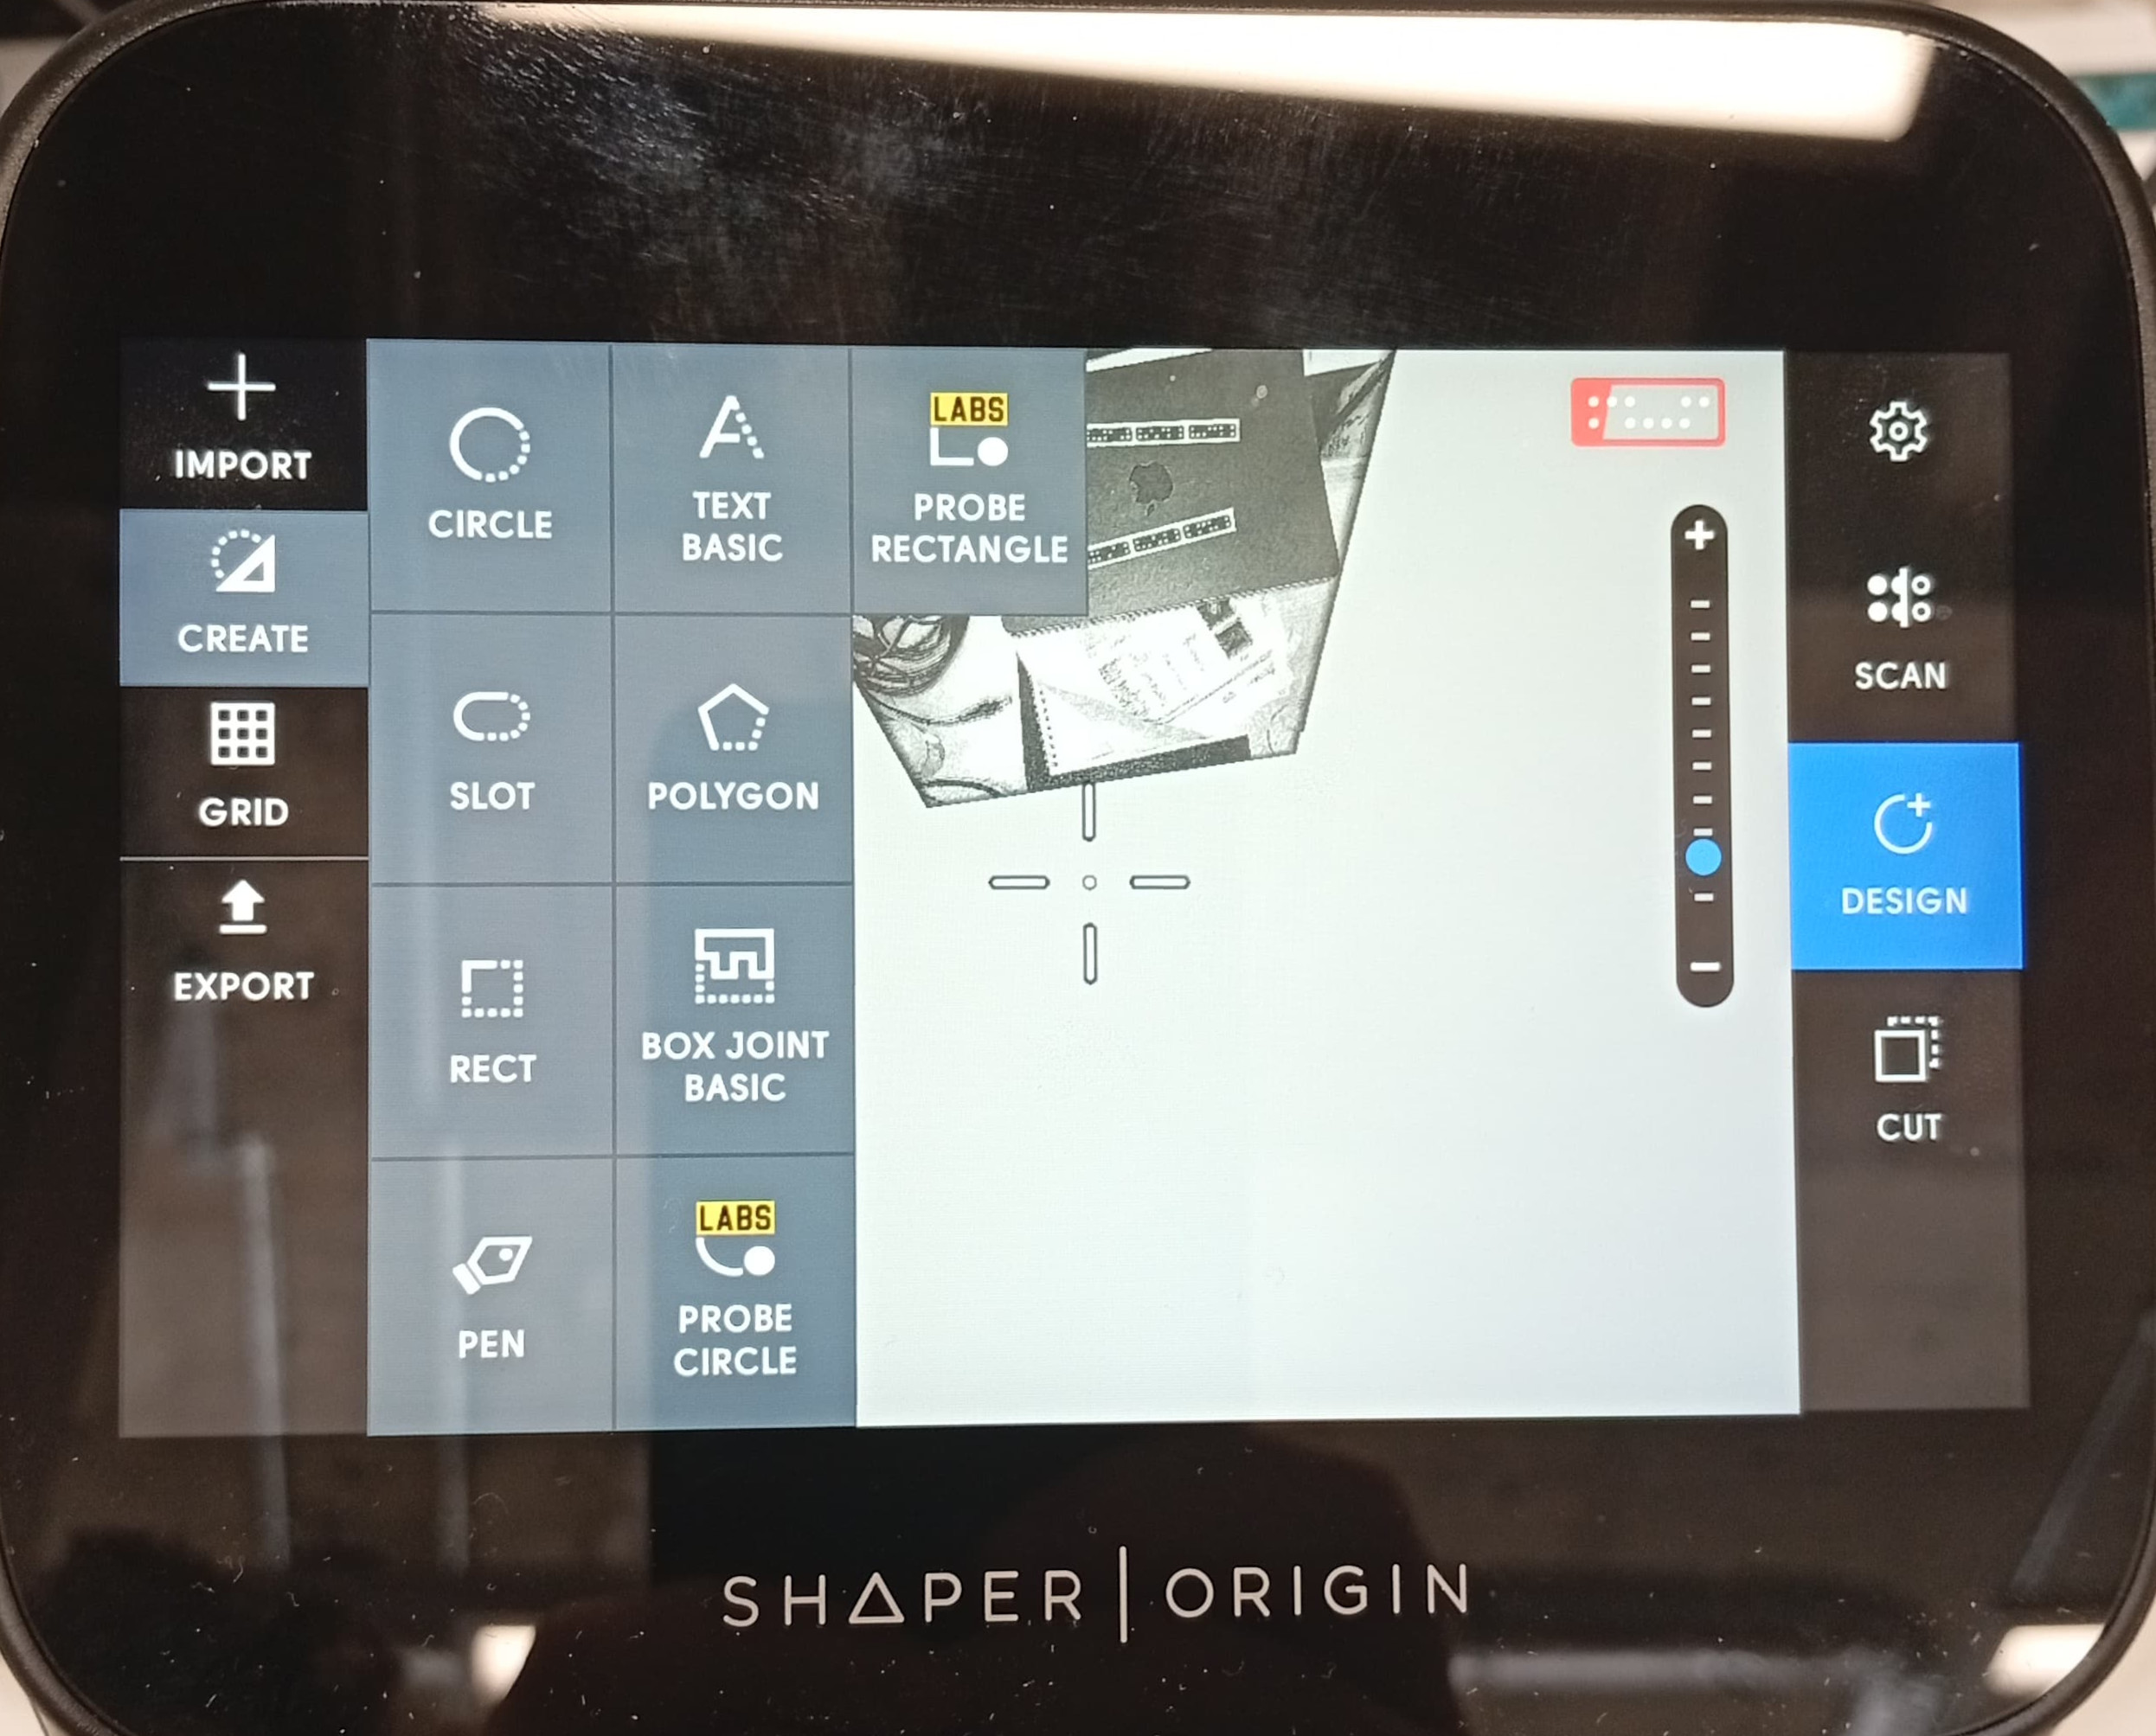
The Create menu on the left has a variety of shapes and graphics to allow you draw on the machine. You can set the relevant paramenters on screen when you click your choice.
To place, you have to move the machine/pointer physically. Then press Green to accept.
Note: After it's placed, it cannot be moved, only deleted and recreated if necessary.
Assigning Cuts
Move on to the Cut stage, on the right.
Select a geometry with the machine as a pointer.
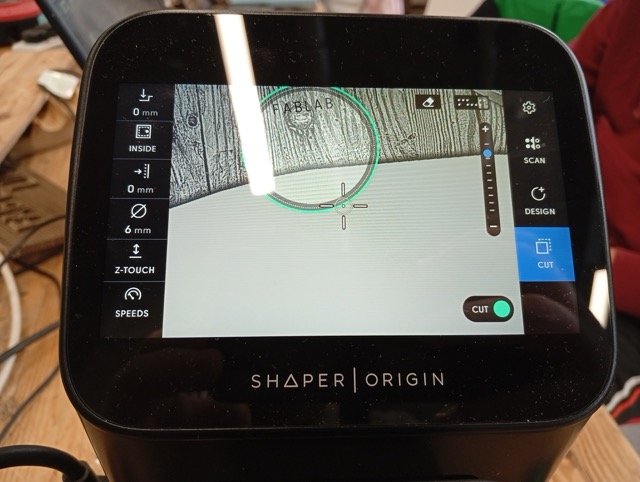
Assign the Depth, Type of cut (inside/on-line/v-cut/outside/pocket), Offset, Diameter(see tool diameter below).
Change the tool if needed.
Use Z-touch to zero the machine. This is a touch off process where the tool probes the material underneath to get the right depth. The process is partially automated. Follow any instructions on screen.
Repeat as necessary.
Changing the Tool
Unplug the Spindle every time you are changing the tool
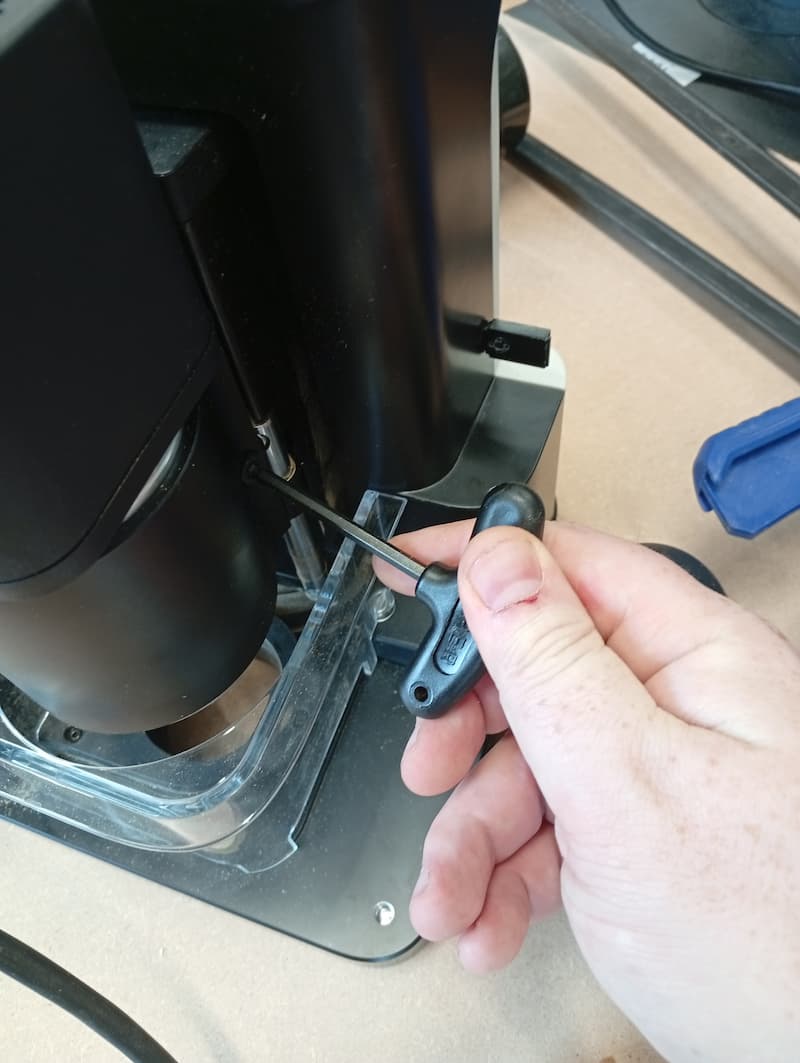
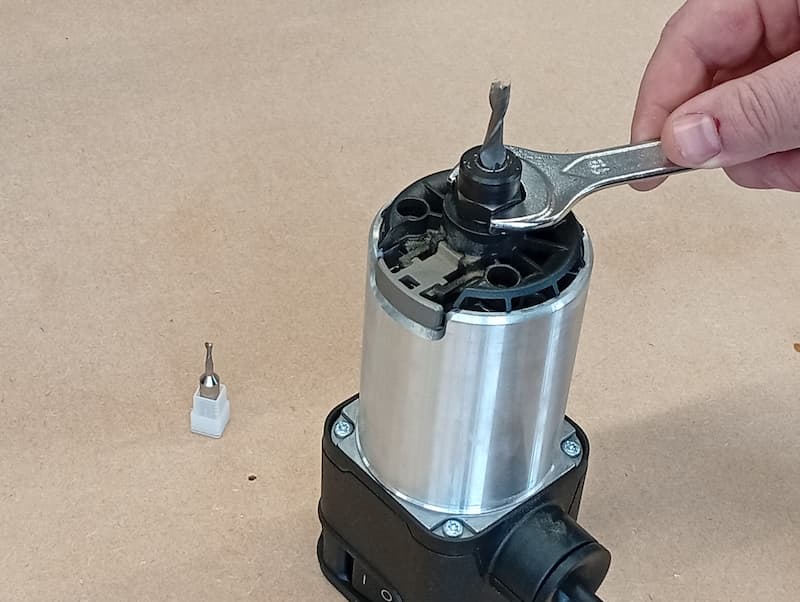
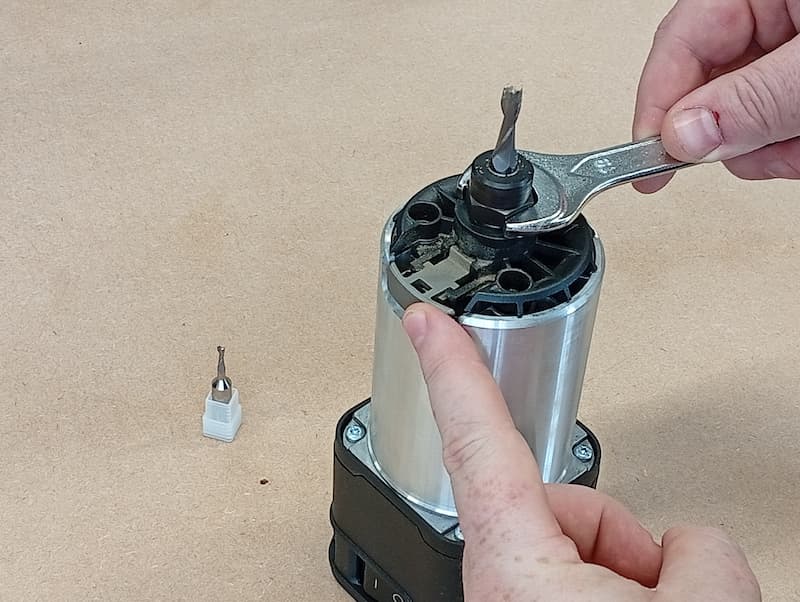
The bits that included with the router are 8mm collet, made of solid carbide:
When you are setting up the job, the speeds for these tools are included in settings.
Final Checks, and cut!
- Check that your work area is clear.
- Make sure you have the required PPE. (Ear defenders, and dust mask).
- The power cables or anything else is not going to catch on anything in your work area.
- Make sure the guard is in place
- And that the correct tool in.
- The vacuum is connected. You can turn it on now. Check the hose is not going to tangle as you carry out the job.
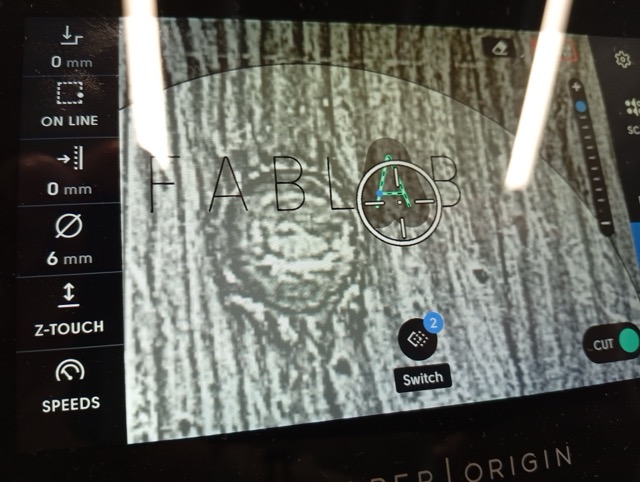
Move the pointer to the geometry you want to cut, and press the green button.
Spindle not on? Error
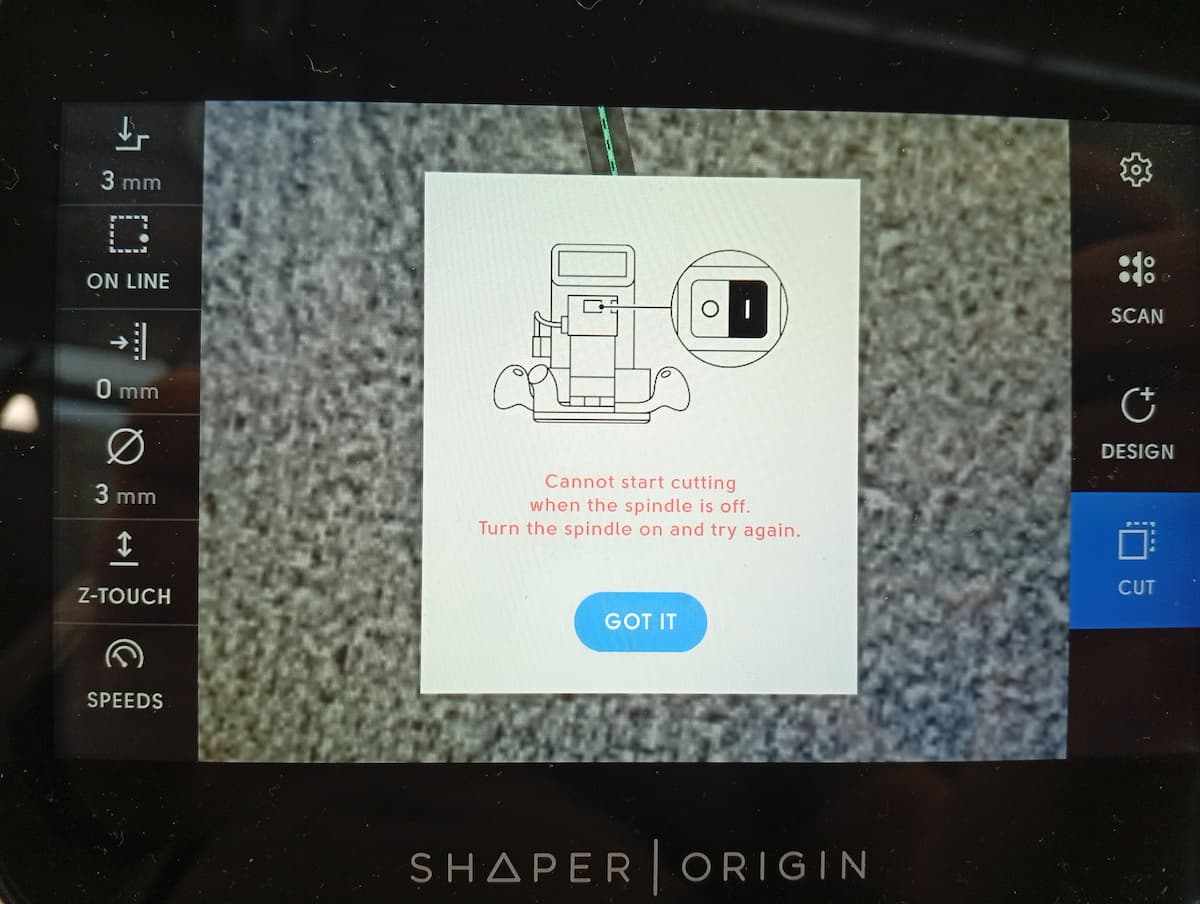
If the spindle is off, you will see this warning.
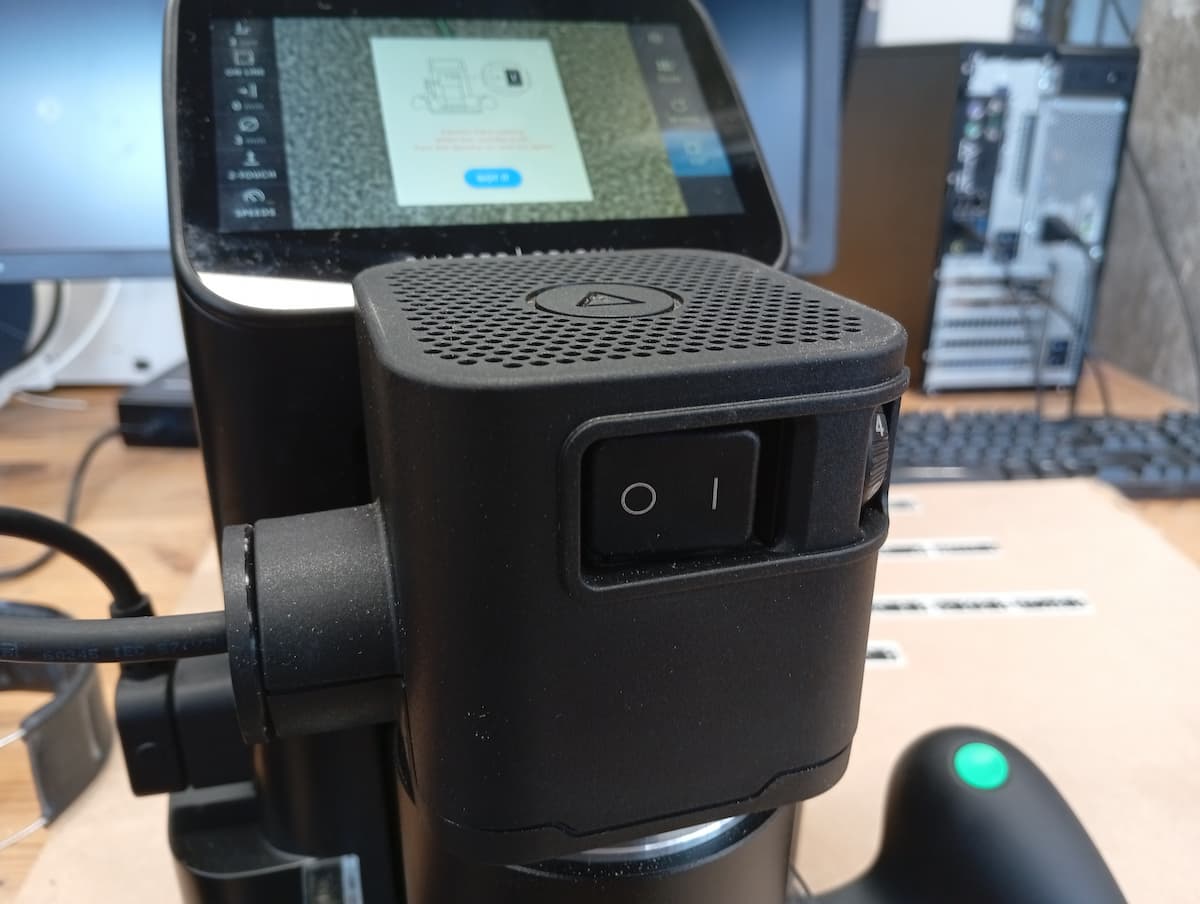
Turn it on and re-initialise the cut with the Green button.
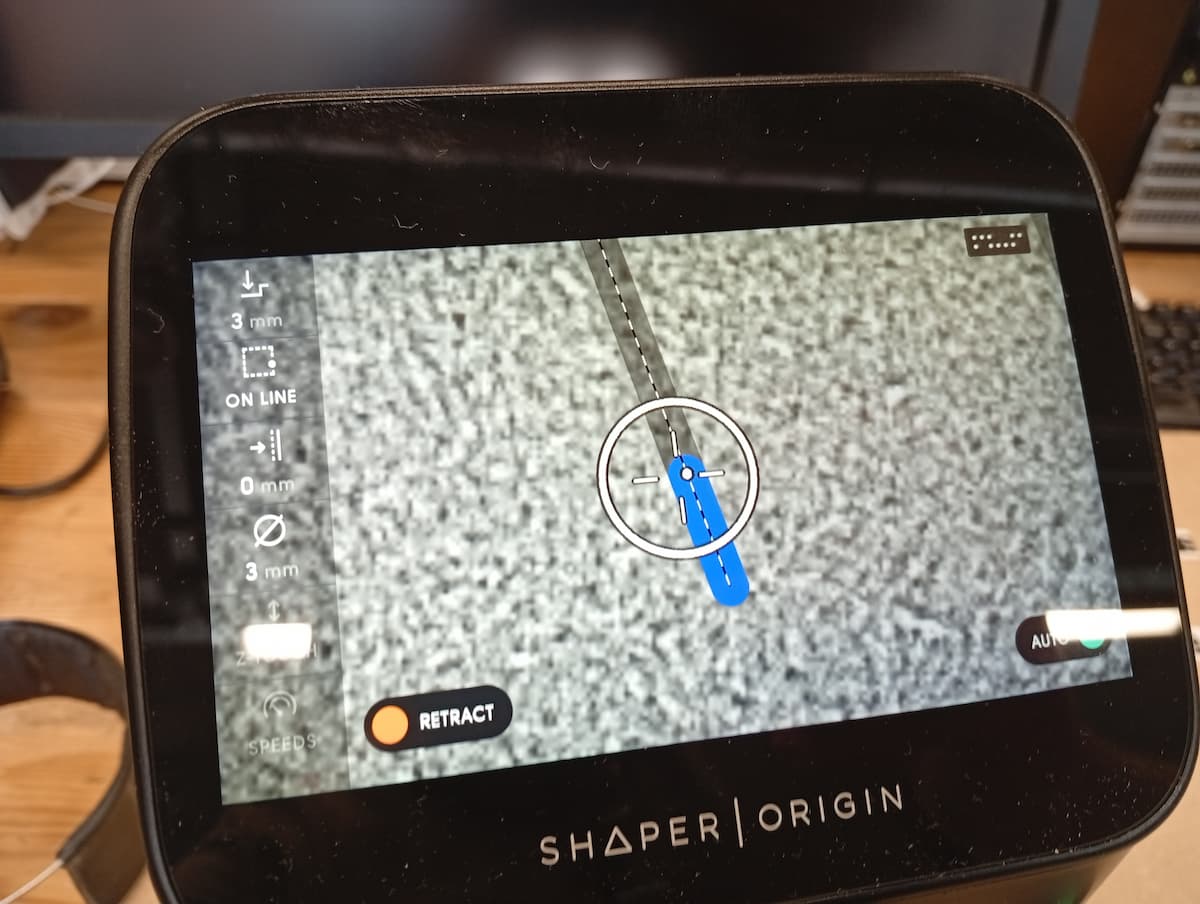
The screen now shows the path to follow. The white circle shows the max. correction the origin can apply. Blue shows already cut, and sometimes there are arrows to tell you which direction you should go.
Clean Up
If the job is finished, unplug the machine from power.
Use the vacuum to clean any dust from the work area and around the machine. Leave the area as you would like to find it.
If you are finished with the machine, tidy the machine, accessories and vacuum away.
Cutting with the Origin Work Station
To be done...
But you can look at the Shaper Webinar video (pt. 2)